Kennedy Meadows to Ridge Lake (October 20, 2012)

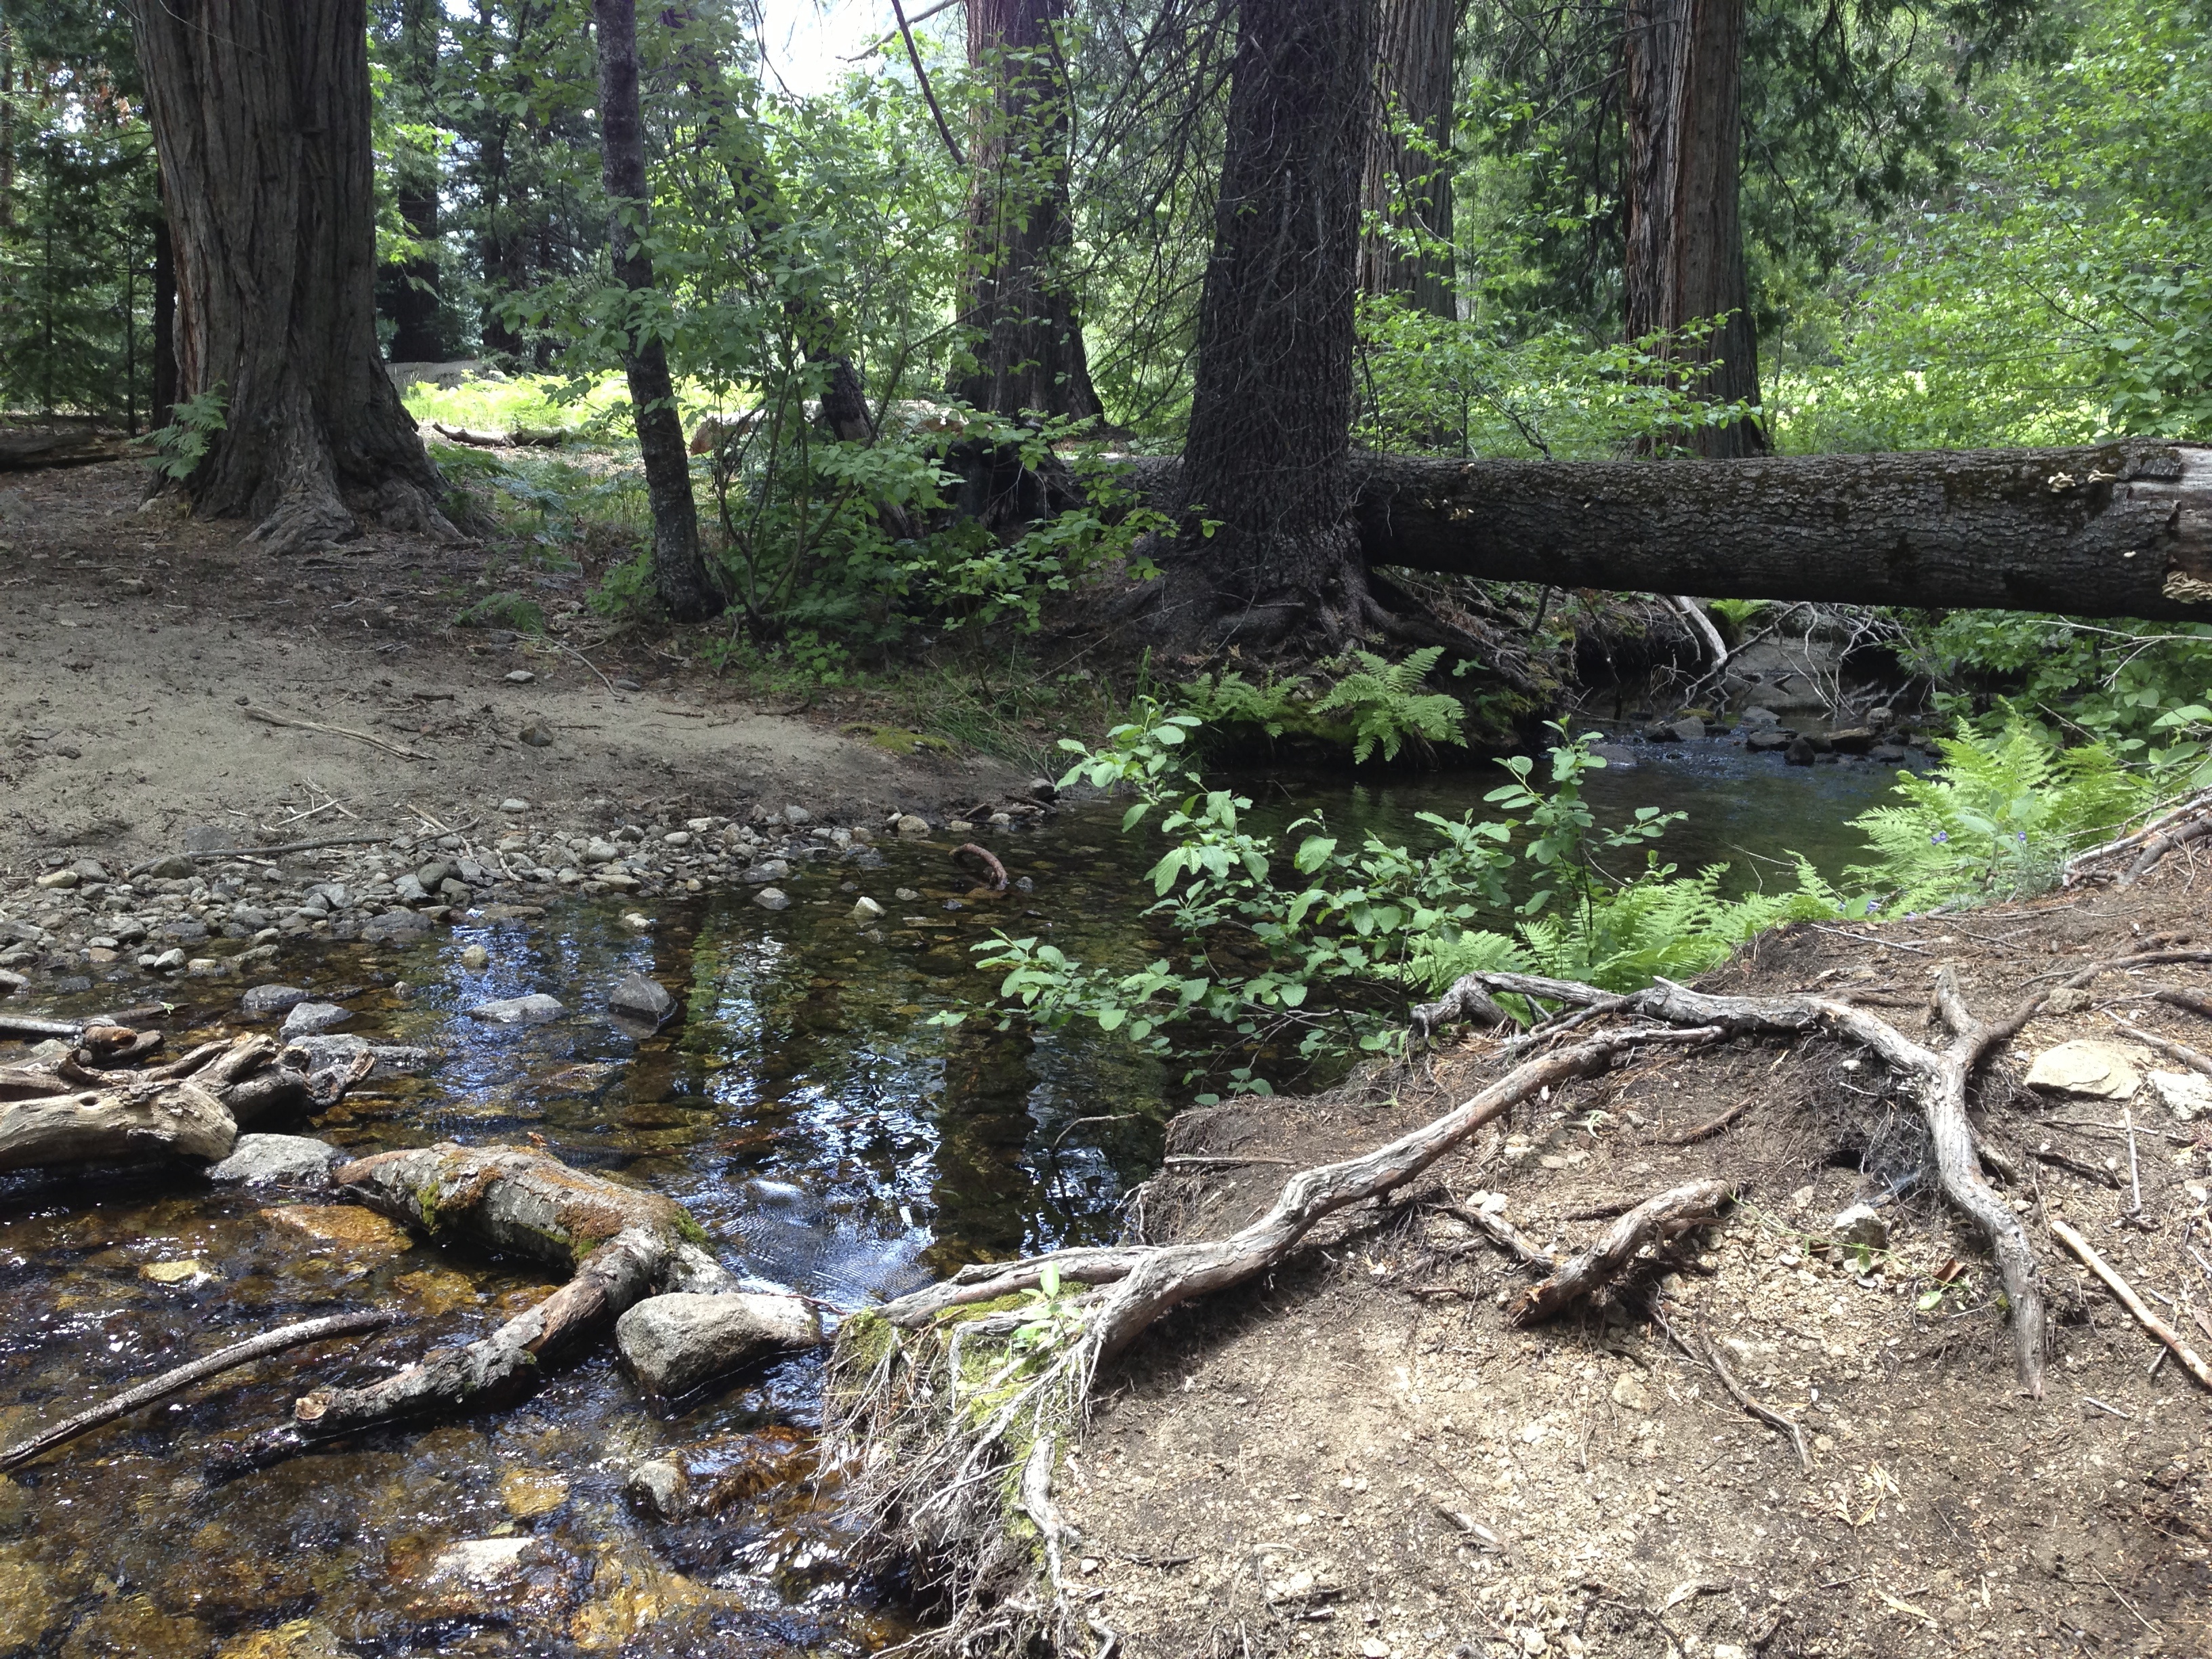
Kennedy Meadows

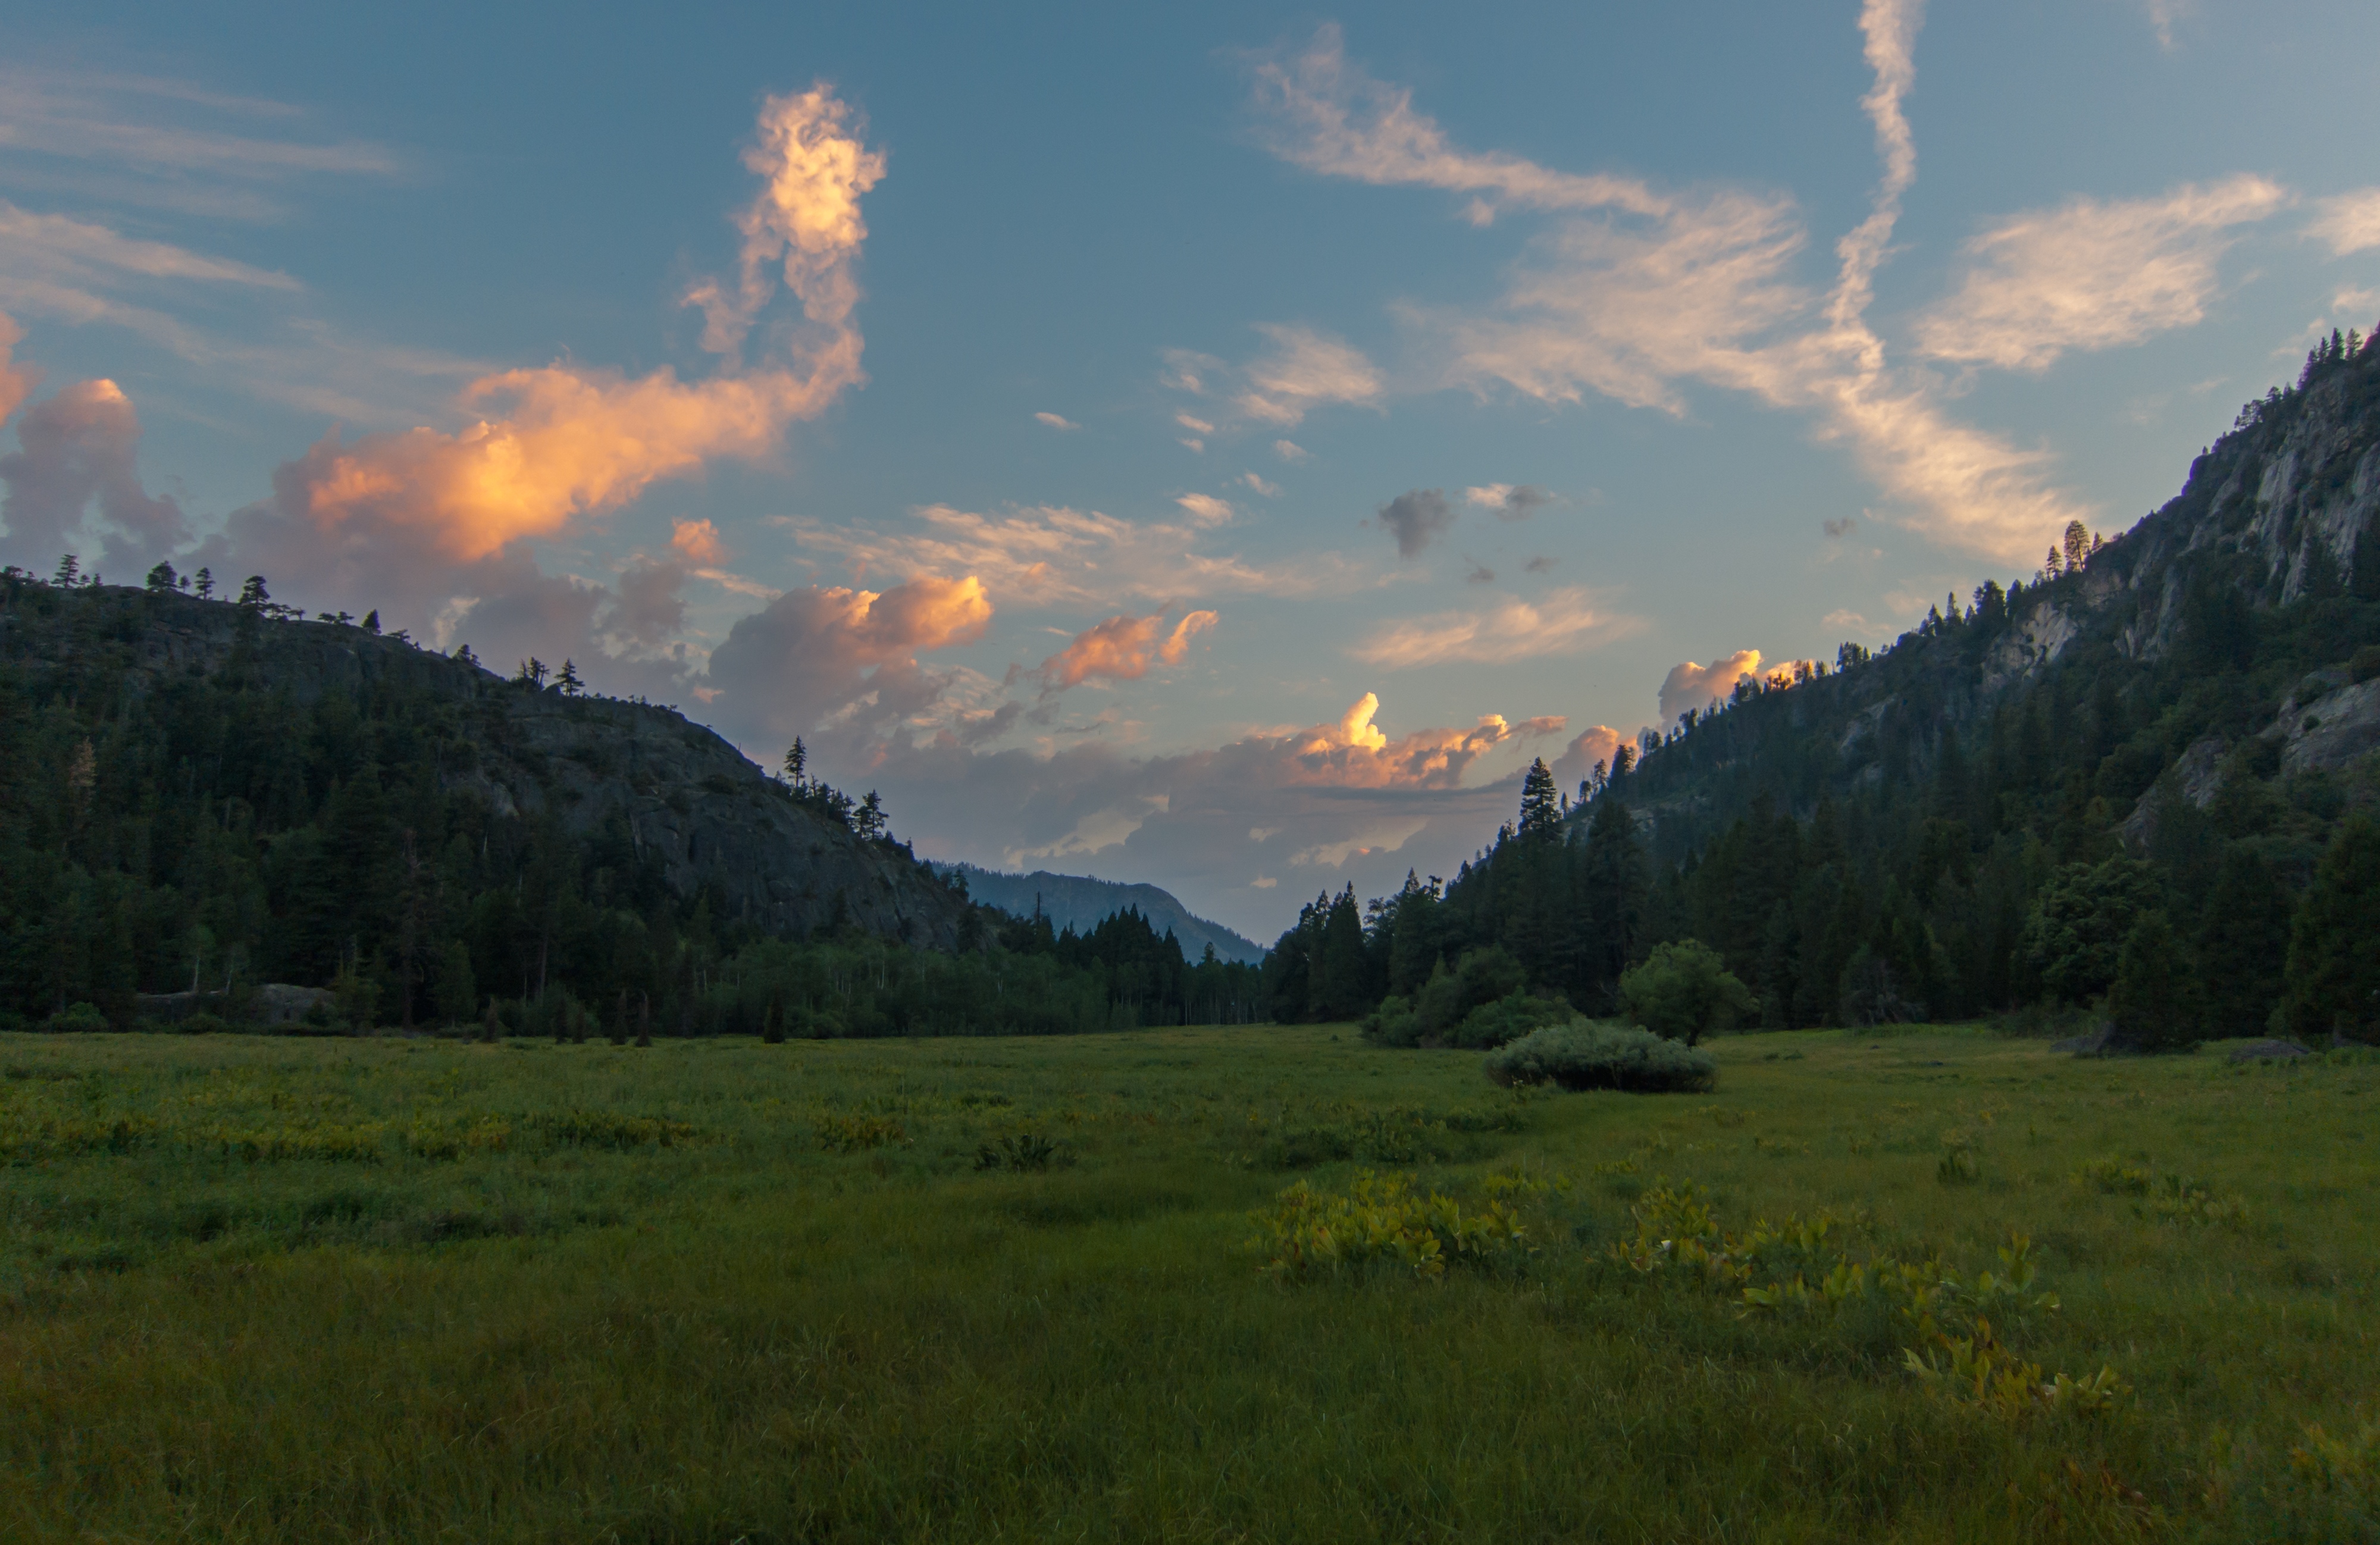
Kennedy Meadows was a picturesque scene, a mountain stream running through the meadow with patches of colorful fall Aspen dotting the hill sides.
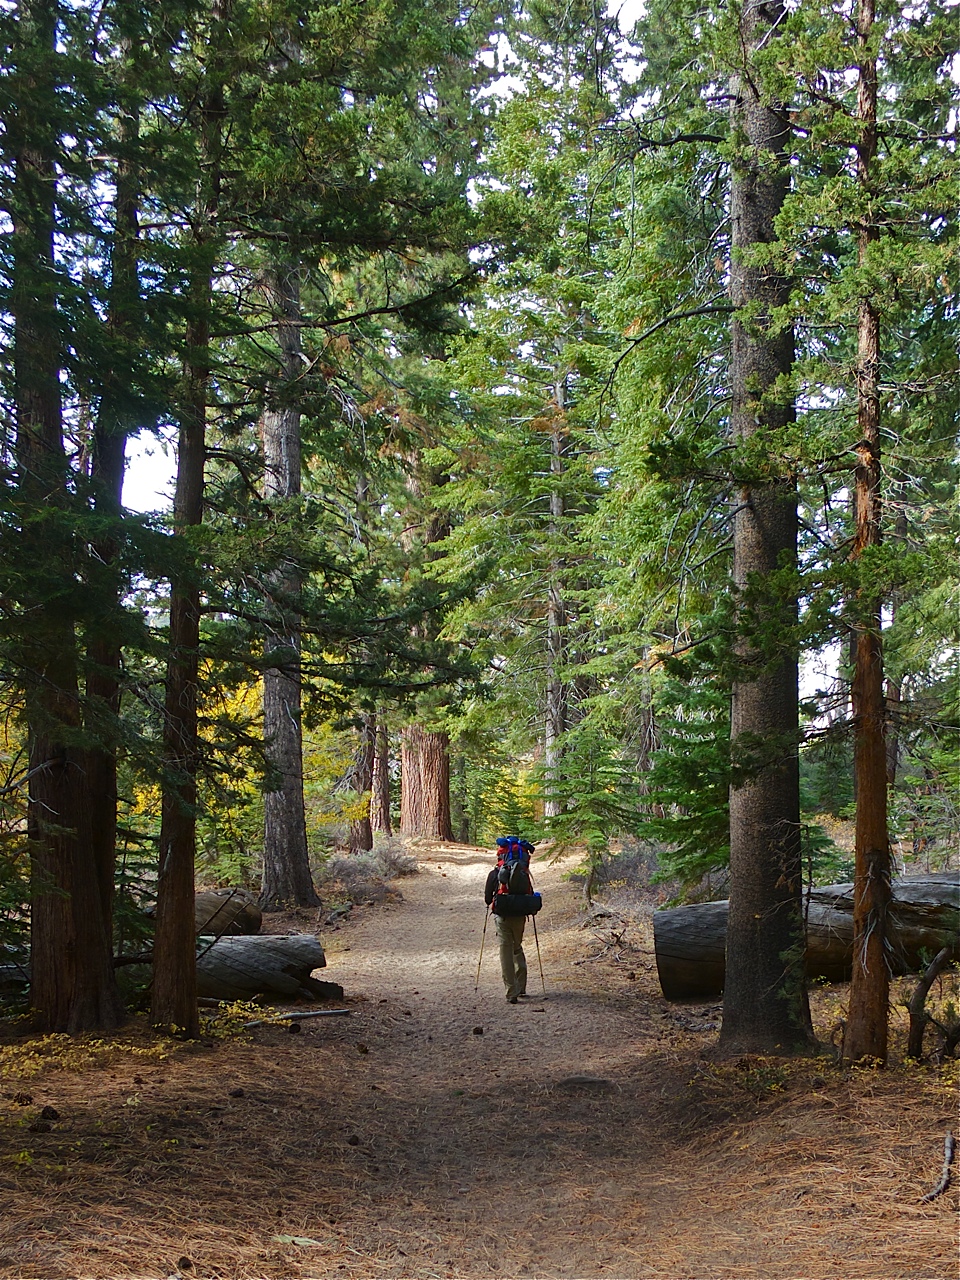
We started up the trail from Kennedy Meadows towards Granite Dome at 8:00 am. On the drive up we had joked that our bear encounters were increasing in significance; seeing more tracks more often, then driving up on a bear crossing the road during our last trip to Ansel Adams Wilderness. It could be this trip that we get our first in-person encounter. Sure enough, about a half mile up the trail I spotted a large animal lumbering through the trees about 30 yards ahead. It was a large brown bear!

Bright yellow Aspen dot the slopes around Relief Reservoir
After stopping to watch the bear run off into the woods, we continued hiking. The trail climbed along the side of a deep ravine with water crashing below. Above the ravine we began traversing a ridge that took us past Relief Reservoir. Here, the slopes were dotted with more patches of bright yellow Aspen.
As we continued past Relief Reservoir towards Saucer Meadows we heard a loud rustle in the trees. We looked over to see a brown bear tumble out of a tree, run up the slope, then climb up another tree. A second bear! And again, not 30 yards away!
 Continuing on, we stopped for lunch a little after noon. We were a short distance from where we would be getting off the main trail to head towards Ridge Lake at the base of Granite Dome’s north face.
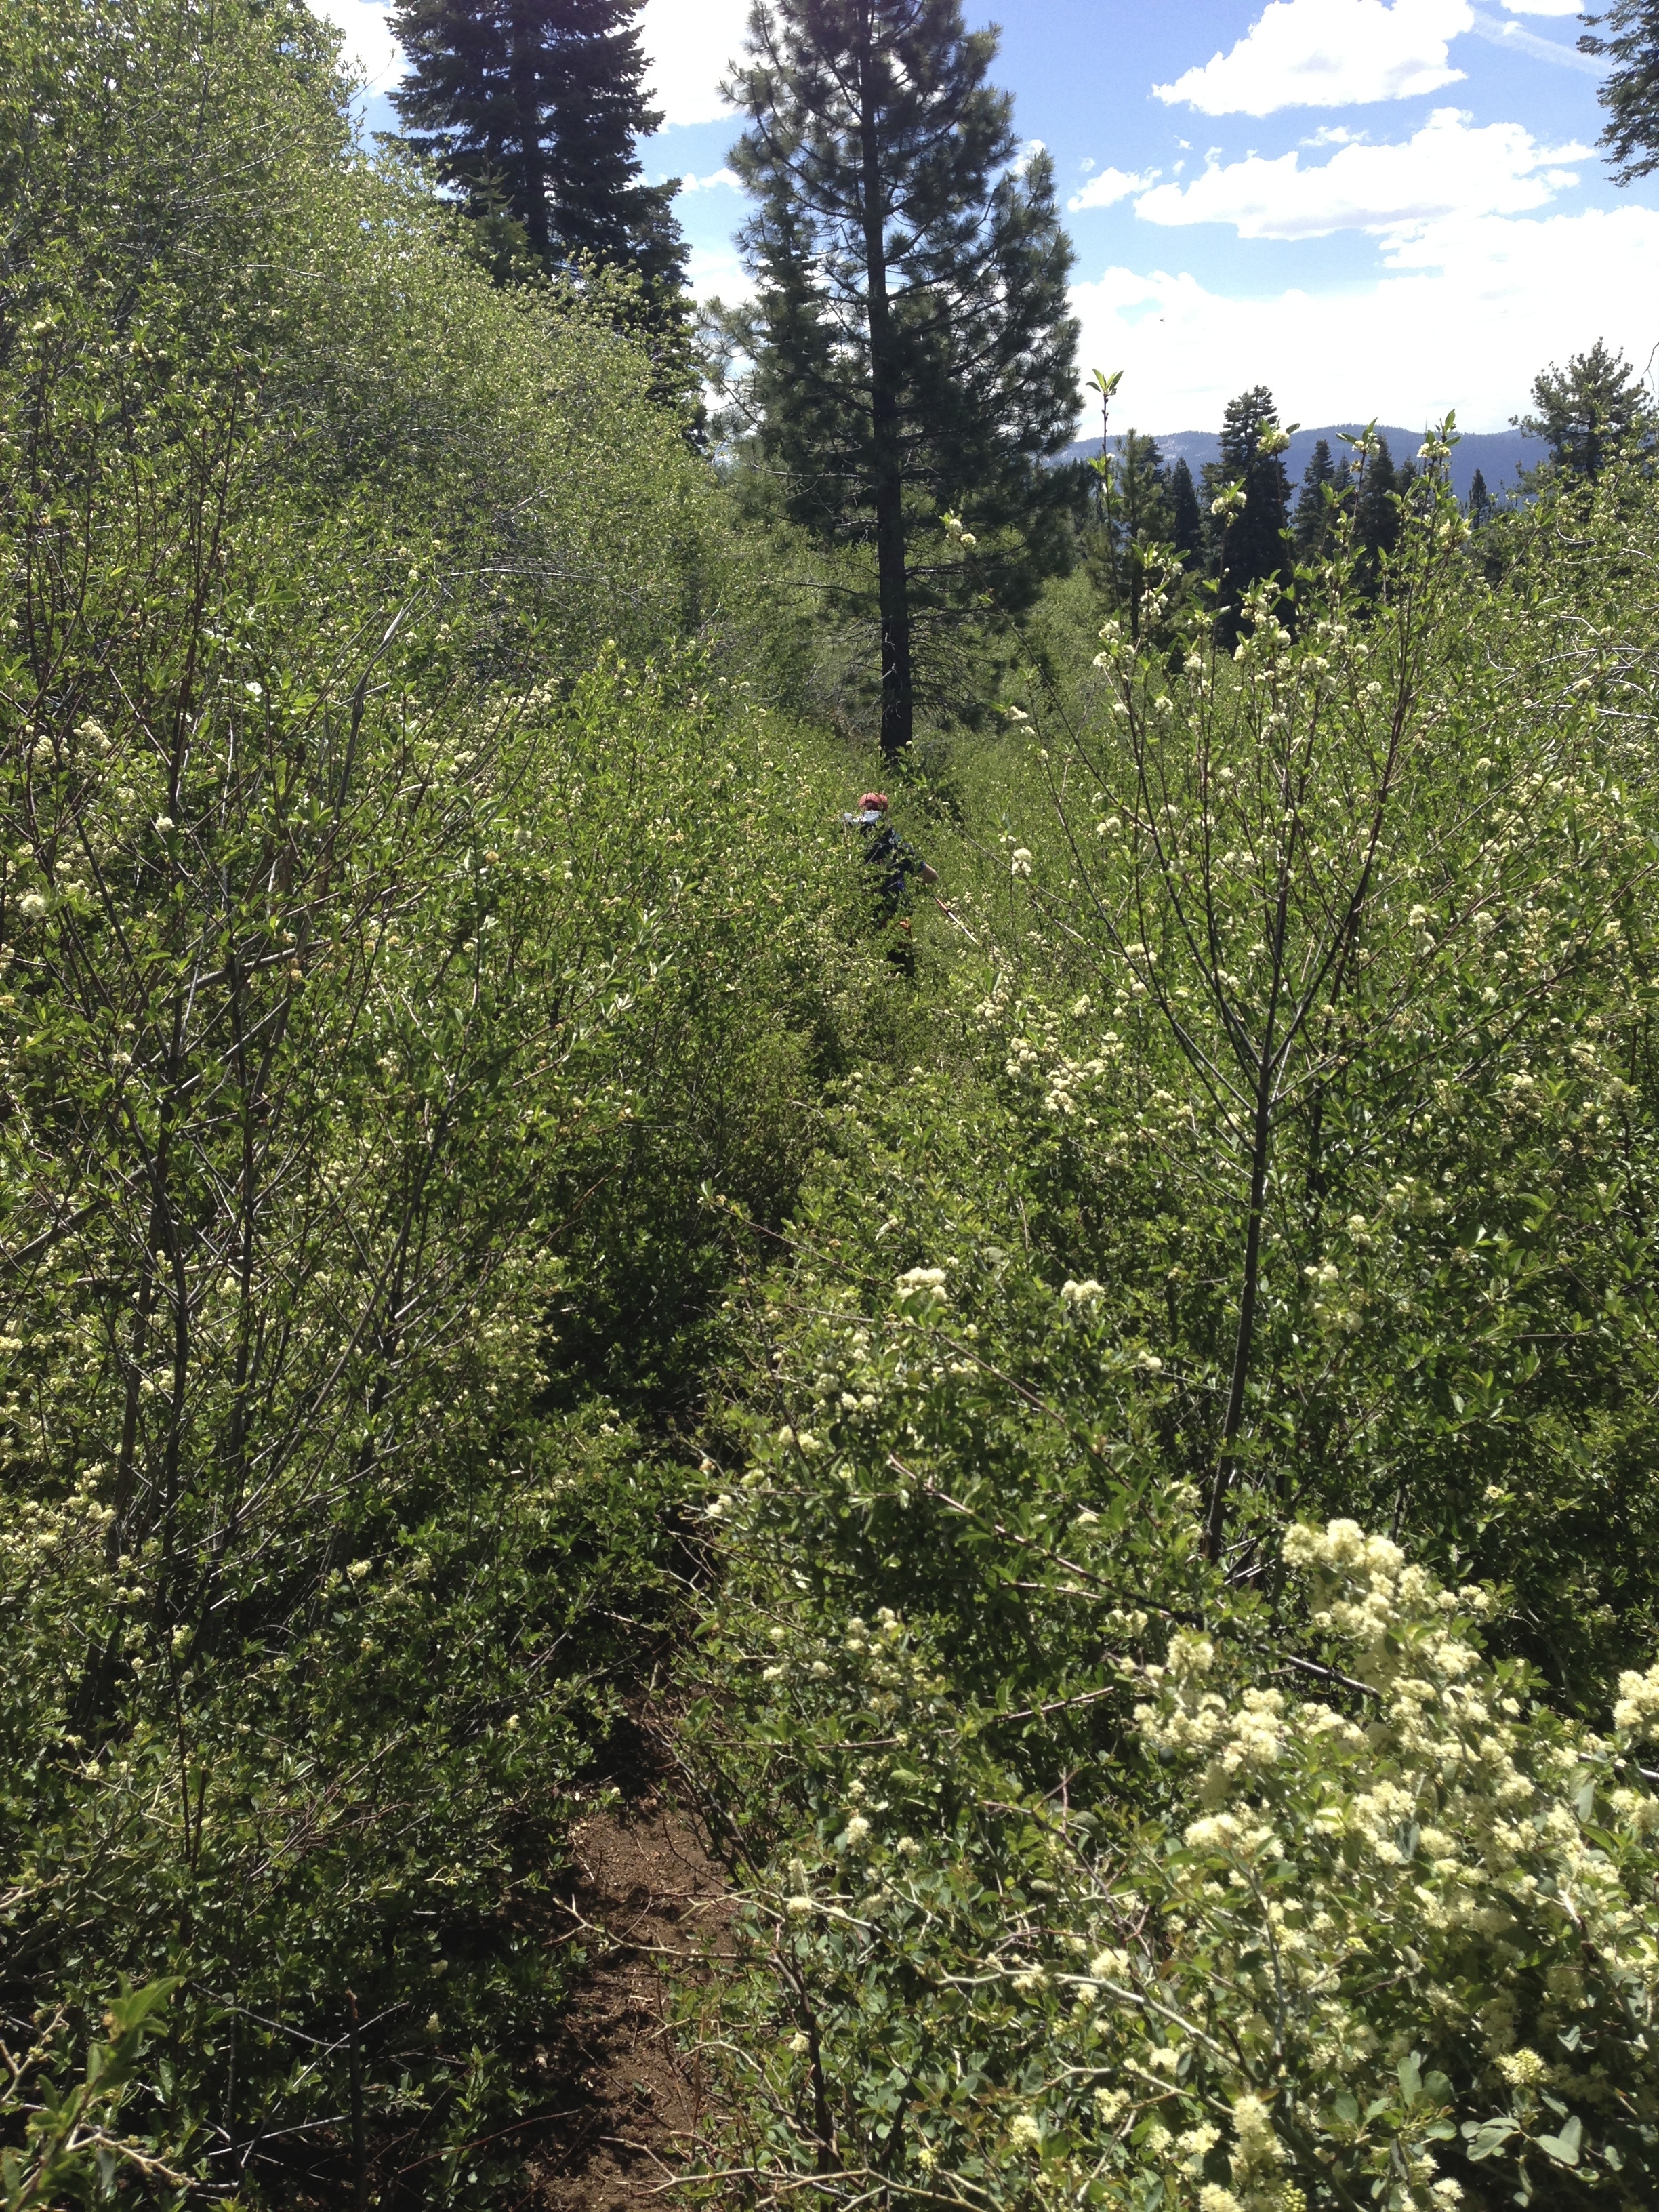
We left the main trail about halfway between the trail split after Relief Reservoir and Sheep Camp. After leaving the trail, we made our way up steep granite slab. This significantly reduced our pace.
Moving across the granite slab took some navigation skills as our landmarks kept disappearing behind the ridge lines as we moved. But we knew the general direction we needed to go, and kept moving.

First look at Granite Dome
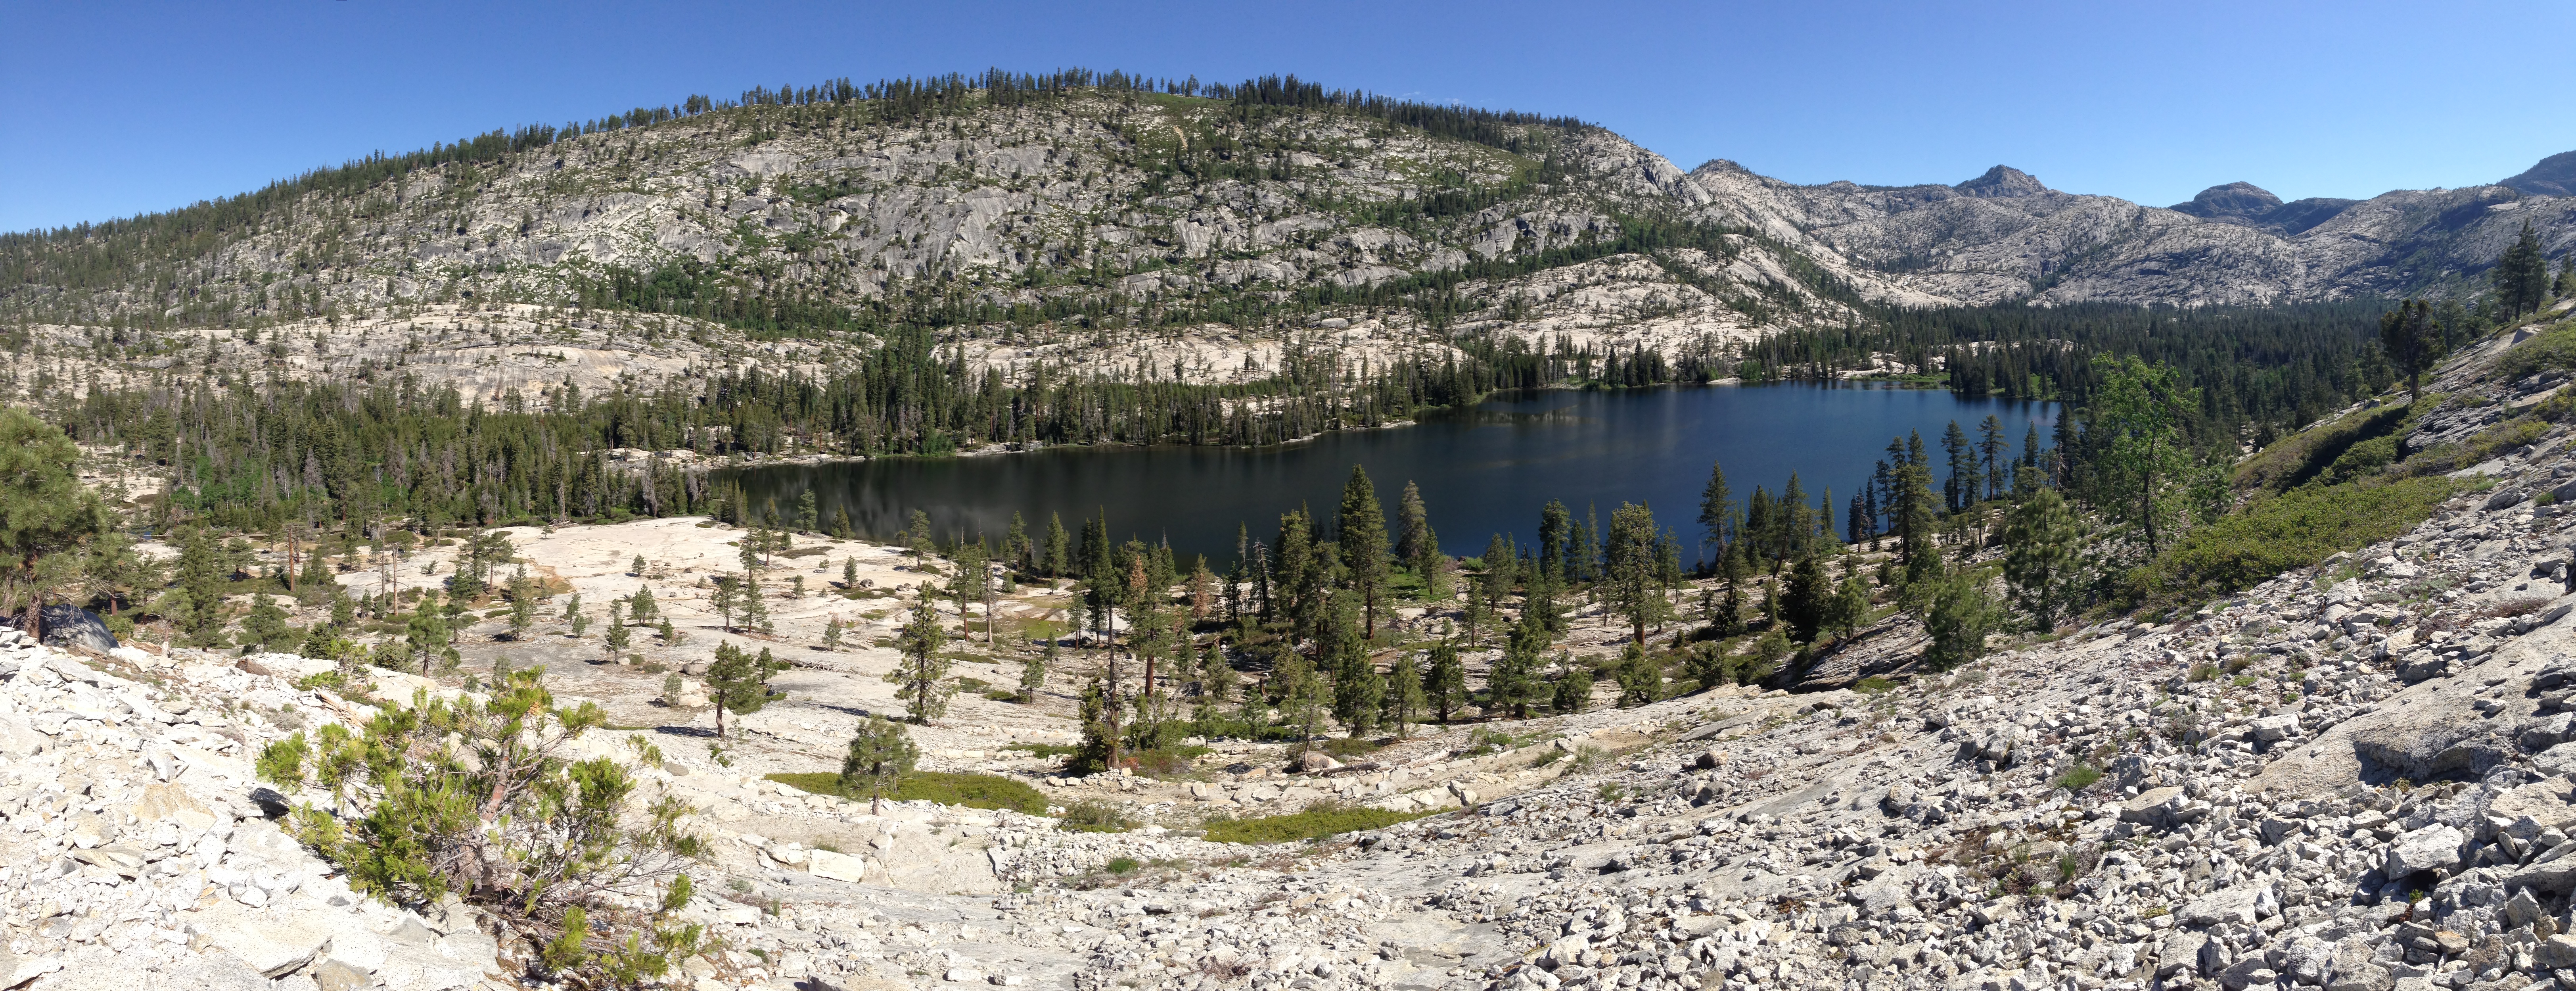
As we approached the first pass, we spotted several cairns that led us up and over as the rock became steeper. From the top of the pass we got our first look at the summit of Granite Dome. It looked far away and our path was not a strait one. We first had to get to Ridge Lake before heading around the lake to access the dome’s eastern slope. It was now 2:00pm and we realized that we would probably not be making it to the summit today.
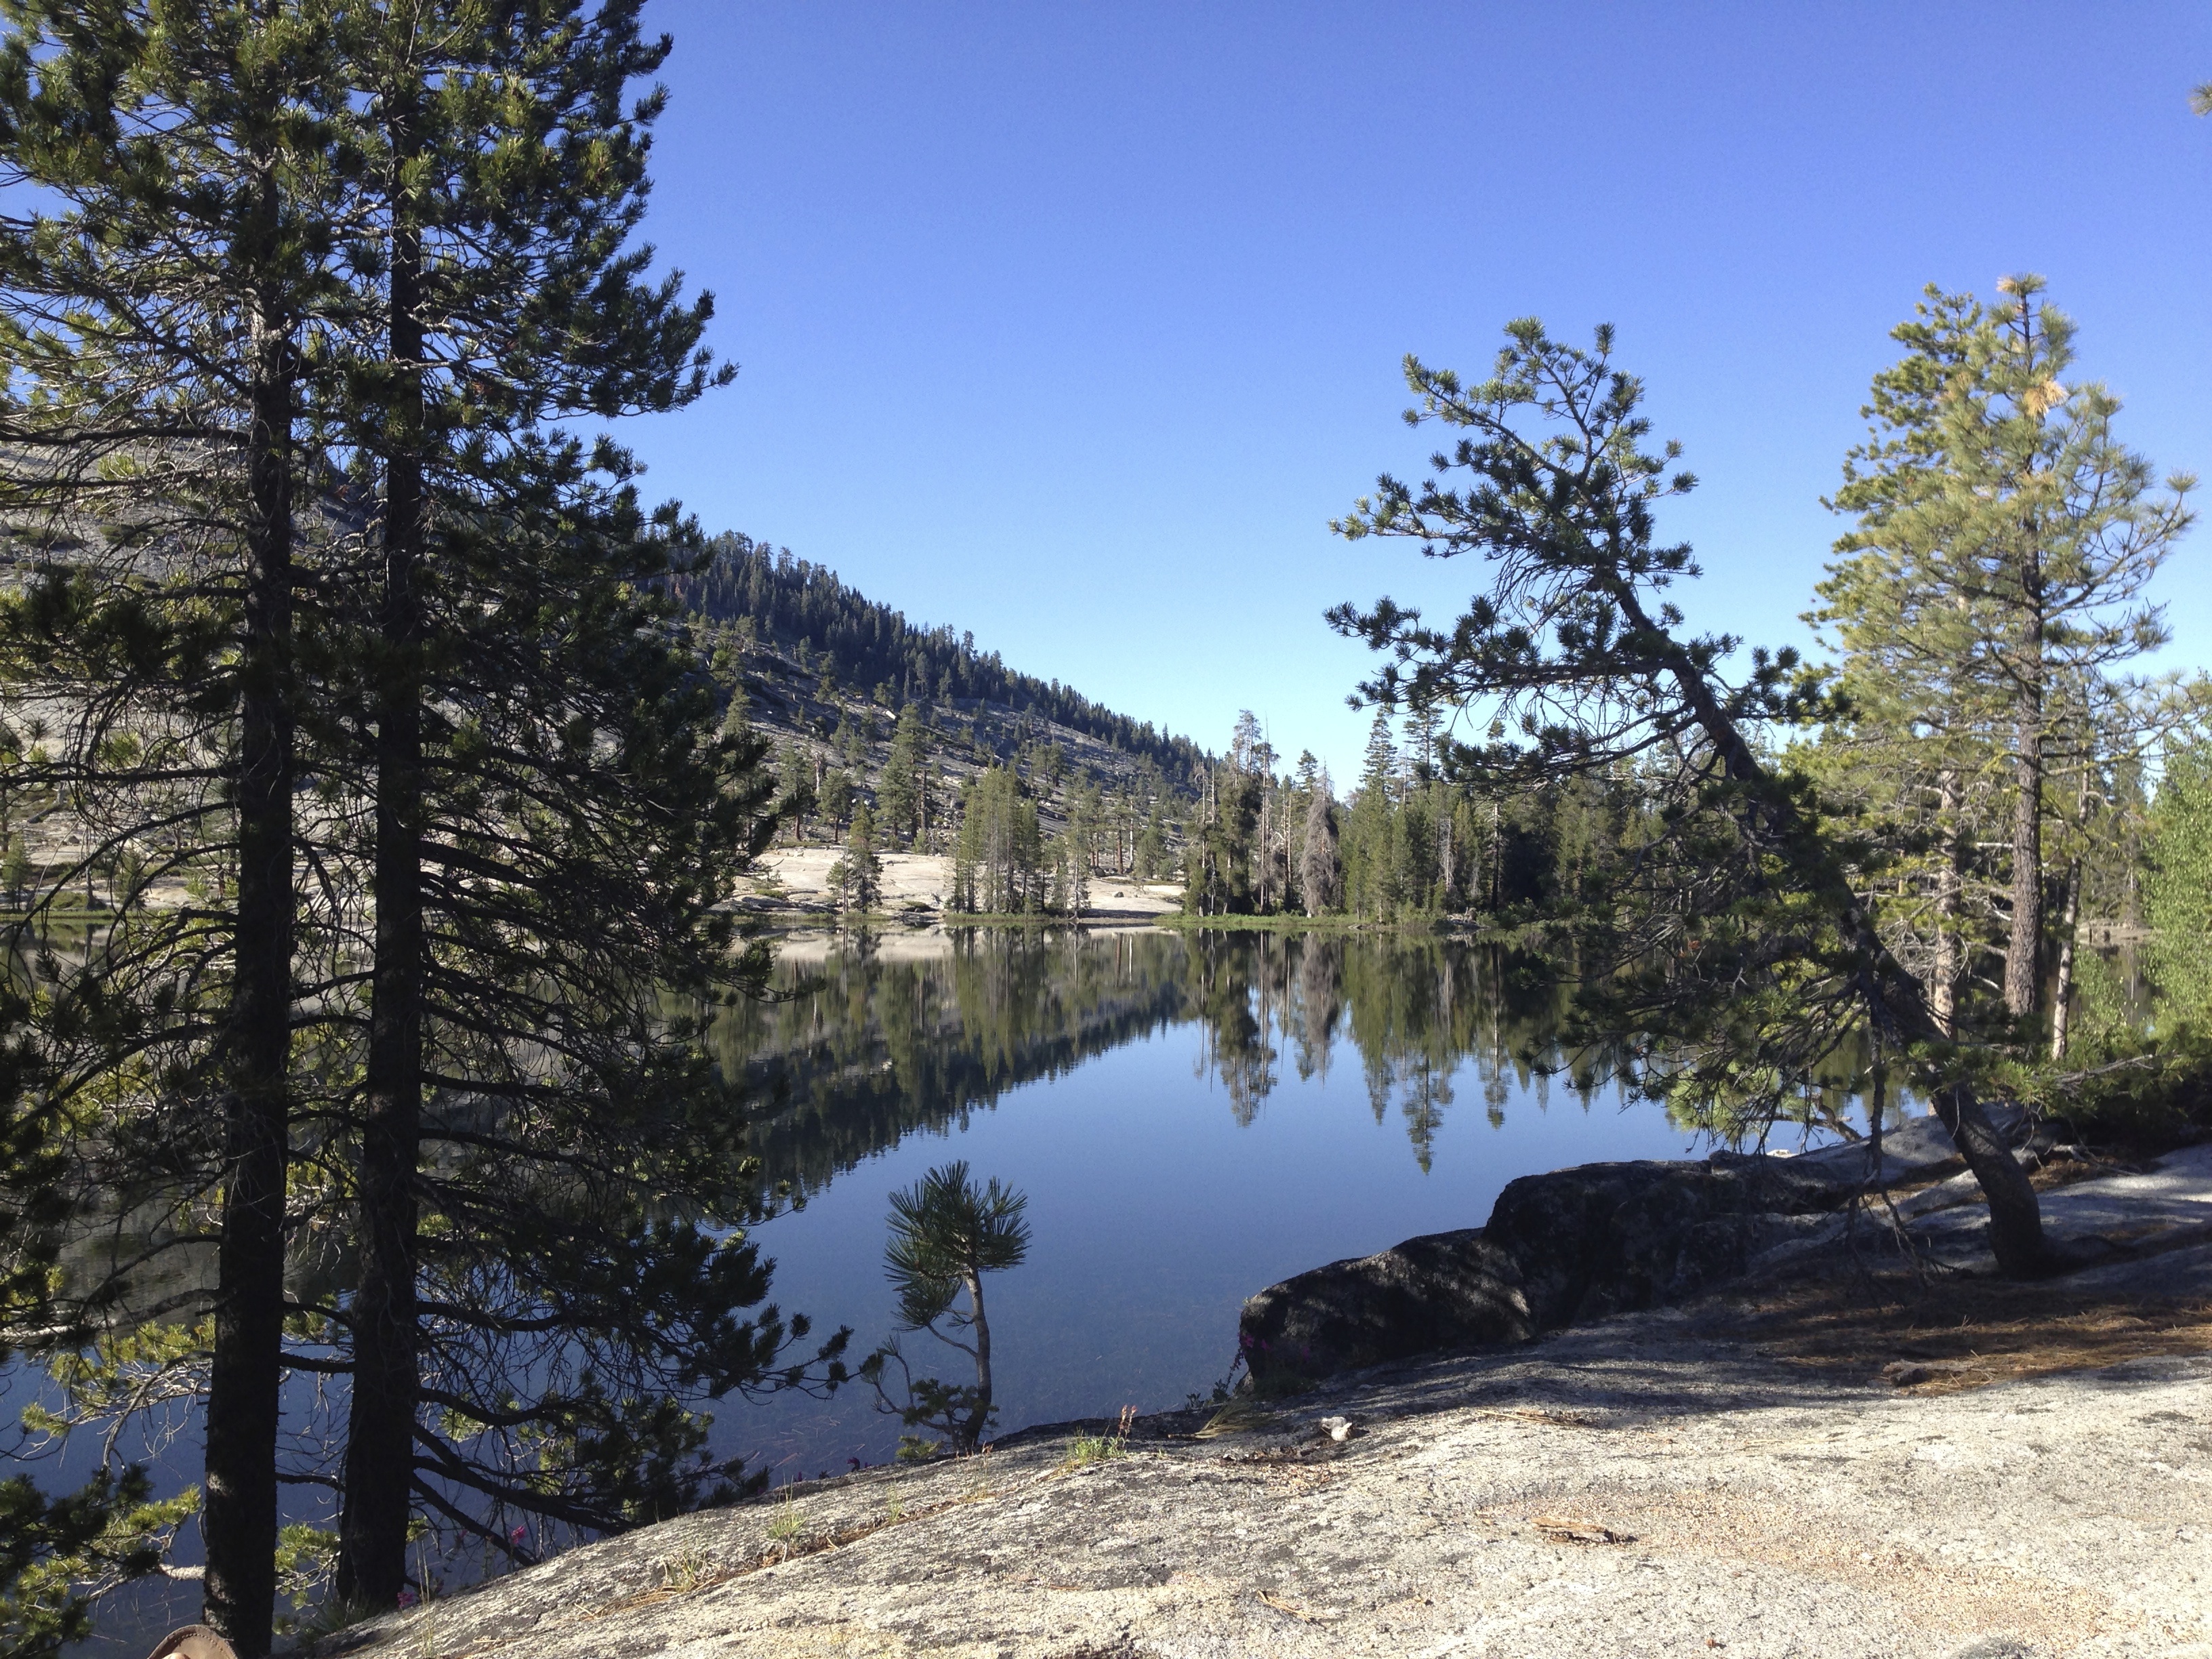
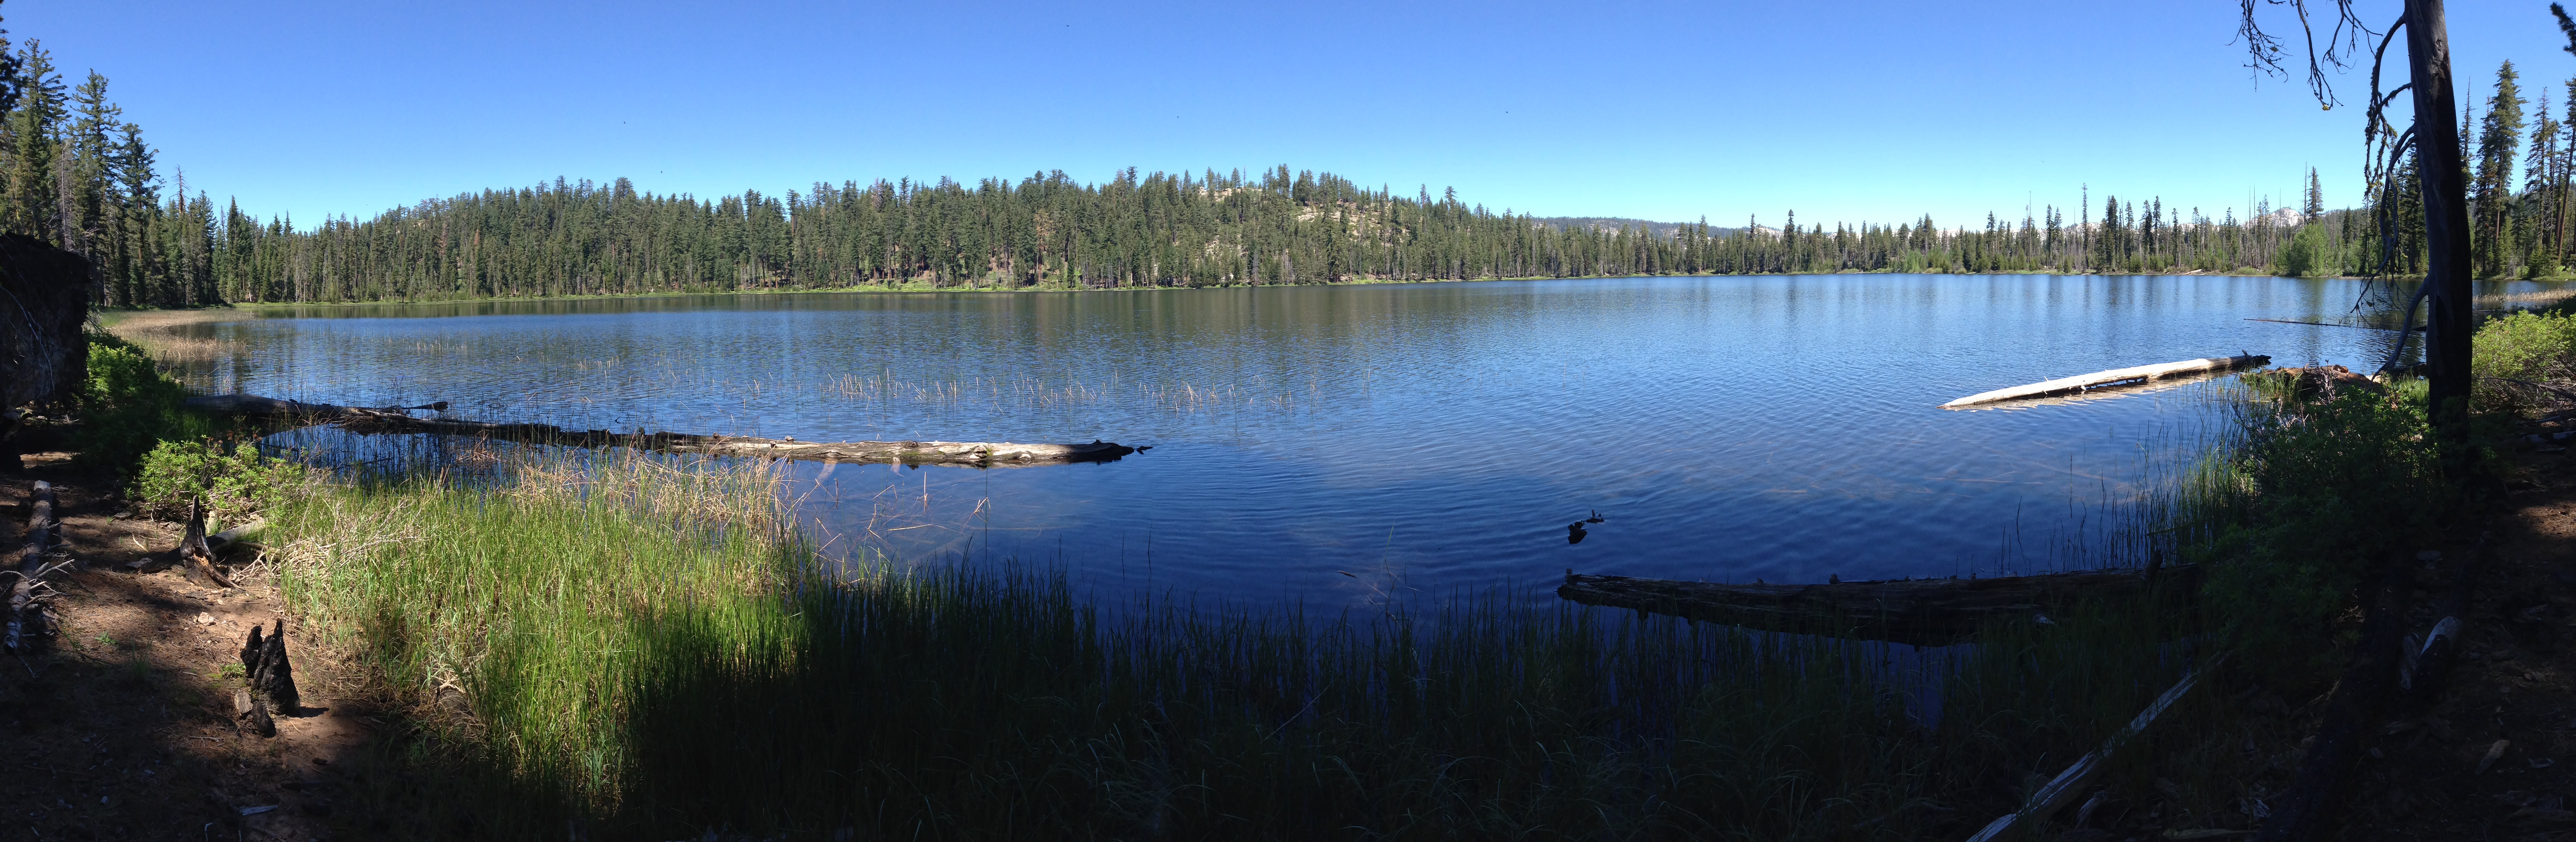
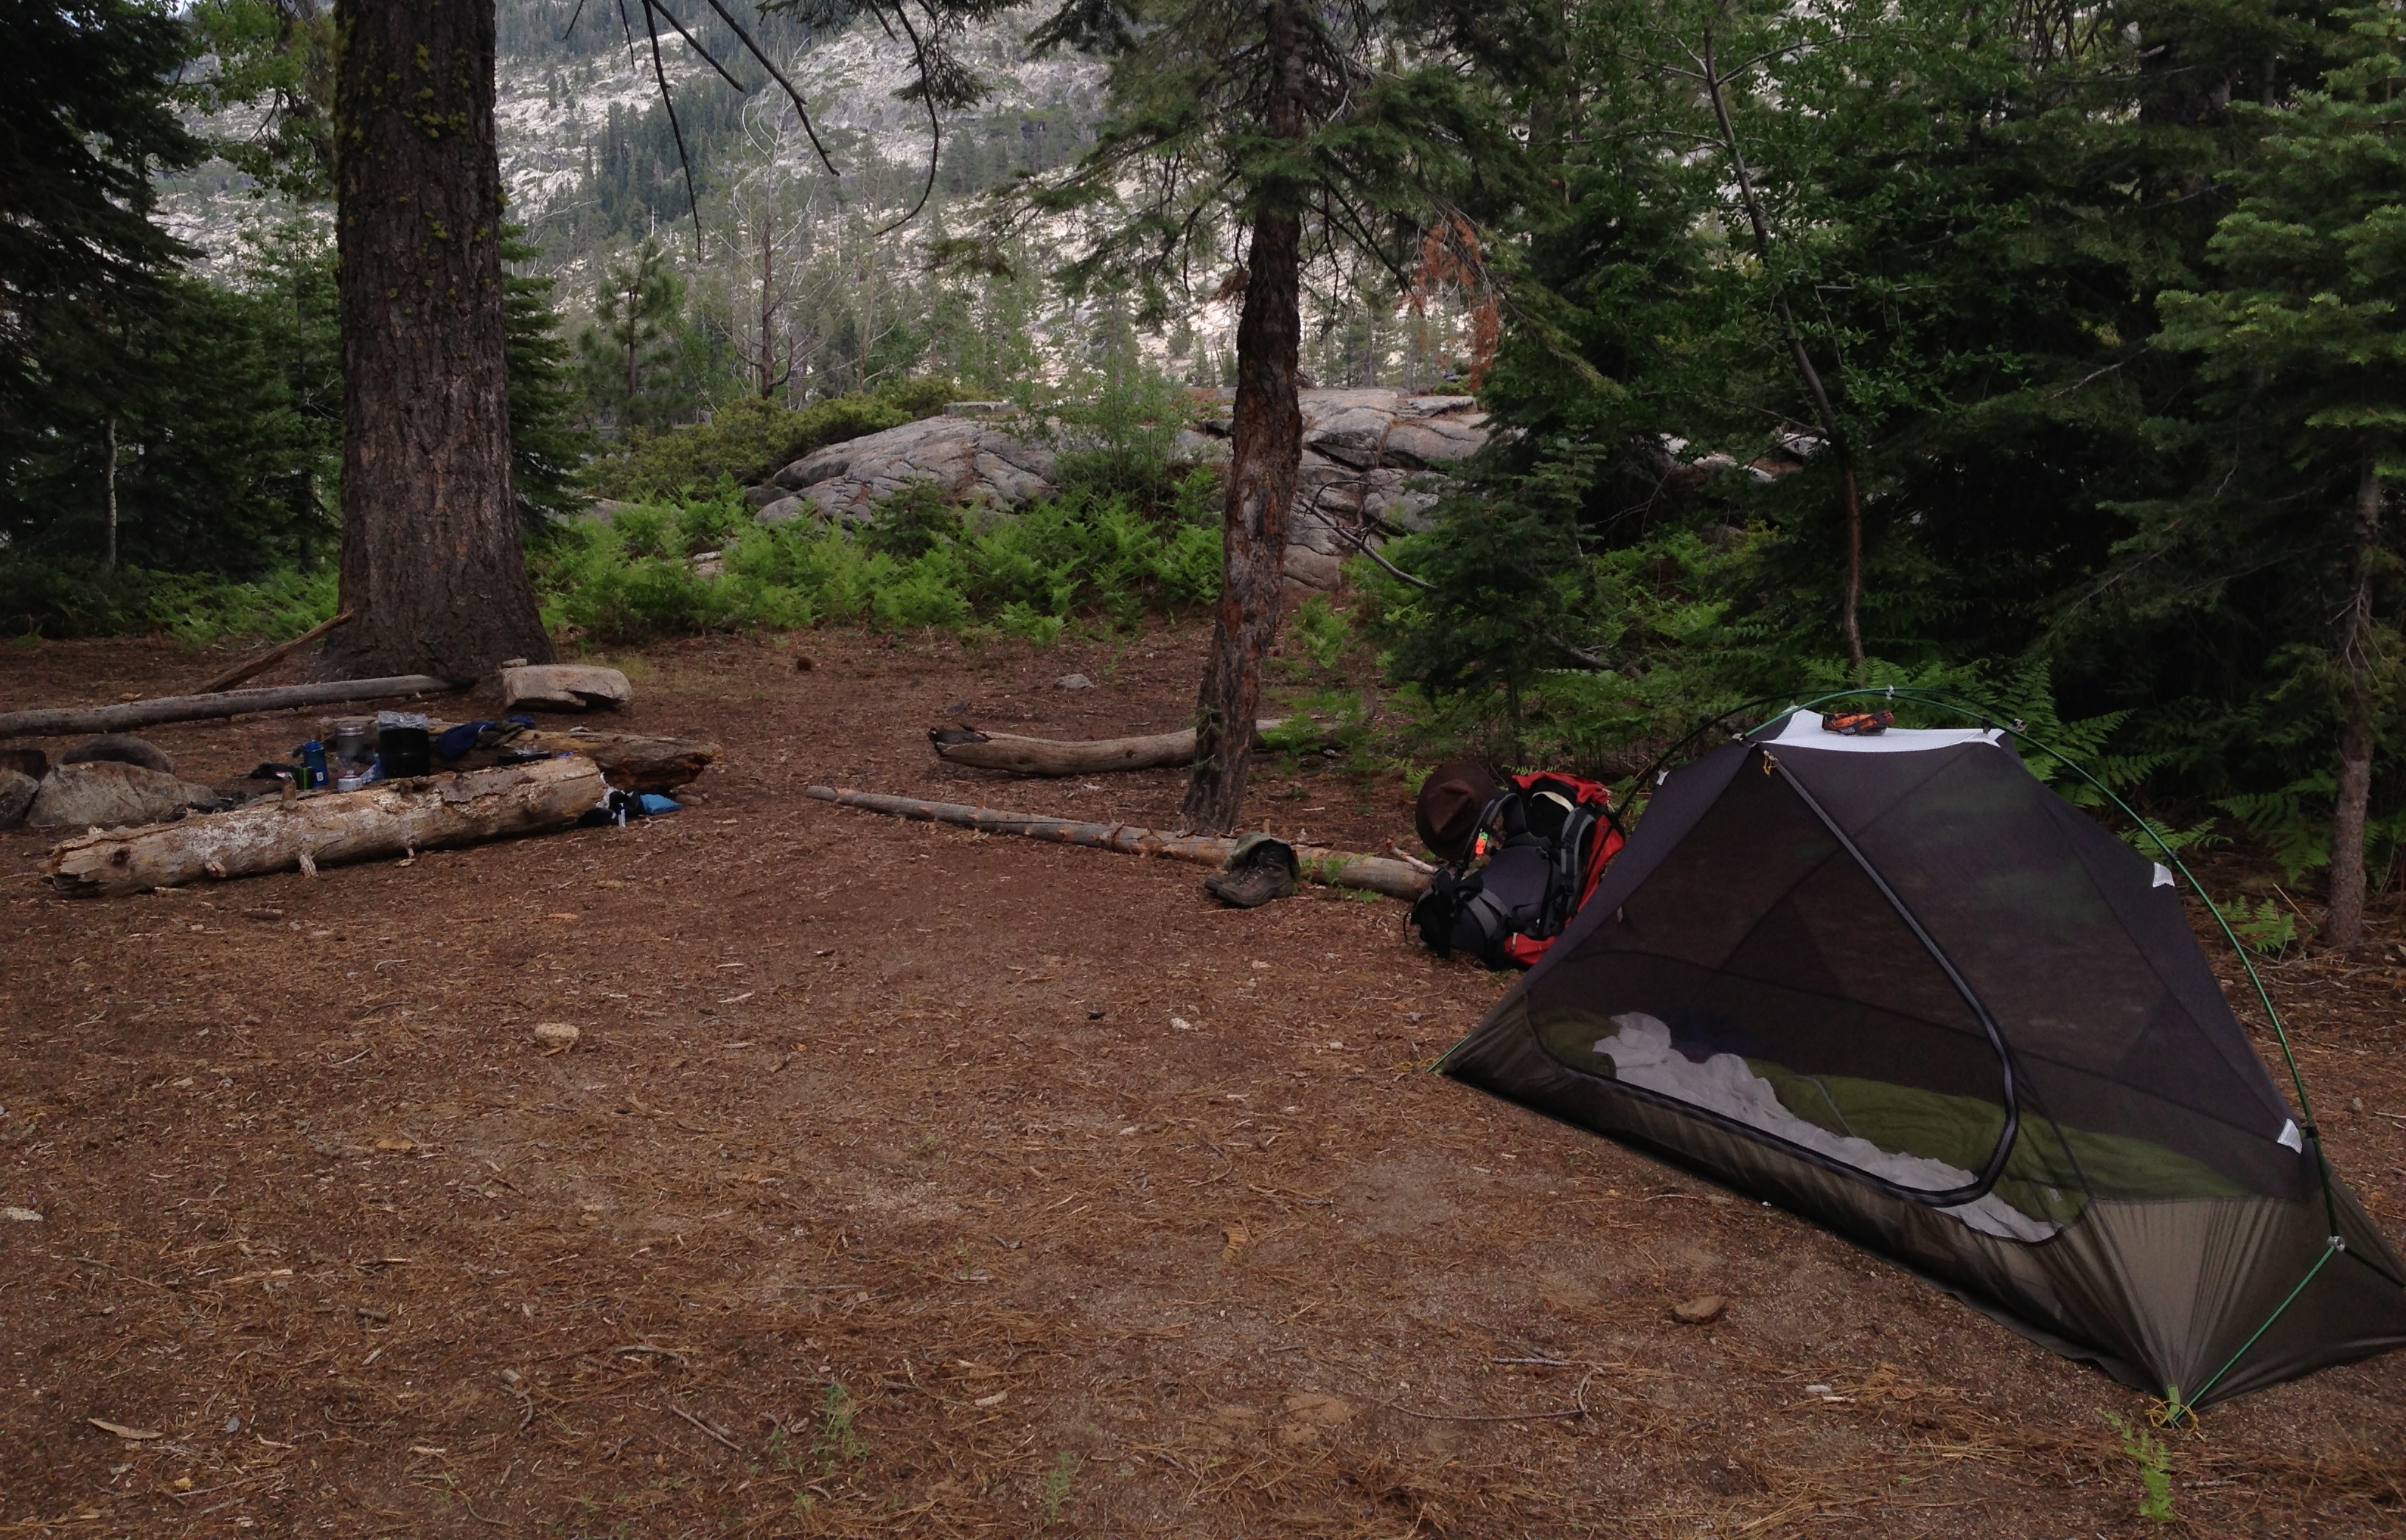
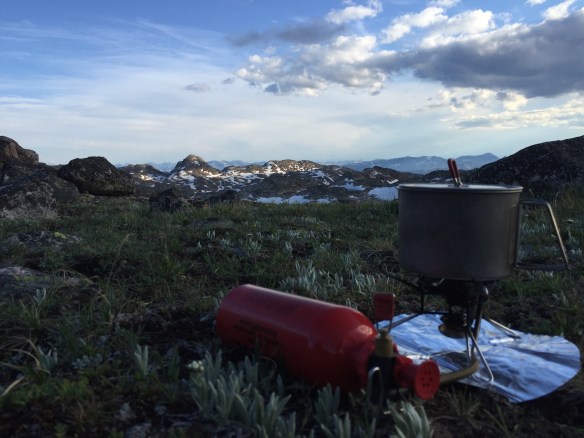
After cresting two more ridges, we finally spotted the lake. The shadow of Granite Dome had already shrouded half the lake in shade as the daylight began to fade. We decided to camp here and try for the summit in the morning.

View from camp of Granite Dome towering over Ridge Lake
With camp set and a mountain blocking out half the sky I pulled out my star gazing app to figure out if we would be able to see Orion tonight. Tonight would be the peak of the Orionids meteor shower and we had hoped to have an unobstructed view of the sky from the summit. Fortunately, Orion’s path would have it high in the sky for our viewing pleasure! In addition to Orion’s placement, we had an almost new moon keeping the sky dark. All that was left to hope for was a cloud free night…
3:00 AM
The night was windy, but the sky was clear and Orion was high above. We watched the sky for about an hour and were treated to quite the show! There were streaks of light crossing the sky every minute!

Shooting star over Granite Dome (photo credit: Paul)
By 4am it was time to get back in the sleeping bag and warm up. In a few hours it would be time to hike again.
Granite Dome (October 21, 2012)
Morning came quickly. By 7am we were up making breakfast. We had decided to take day packs to the summit and grab the tent on the way out.
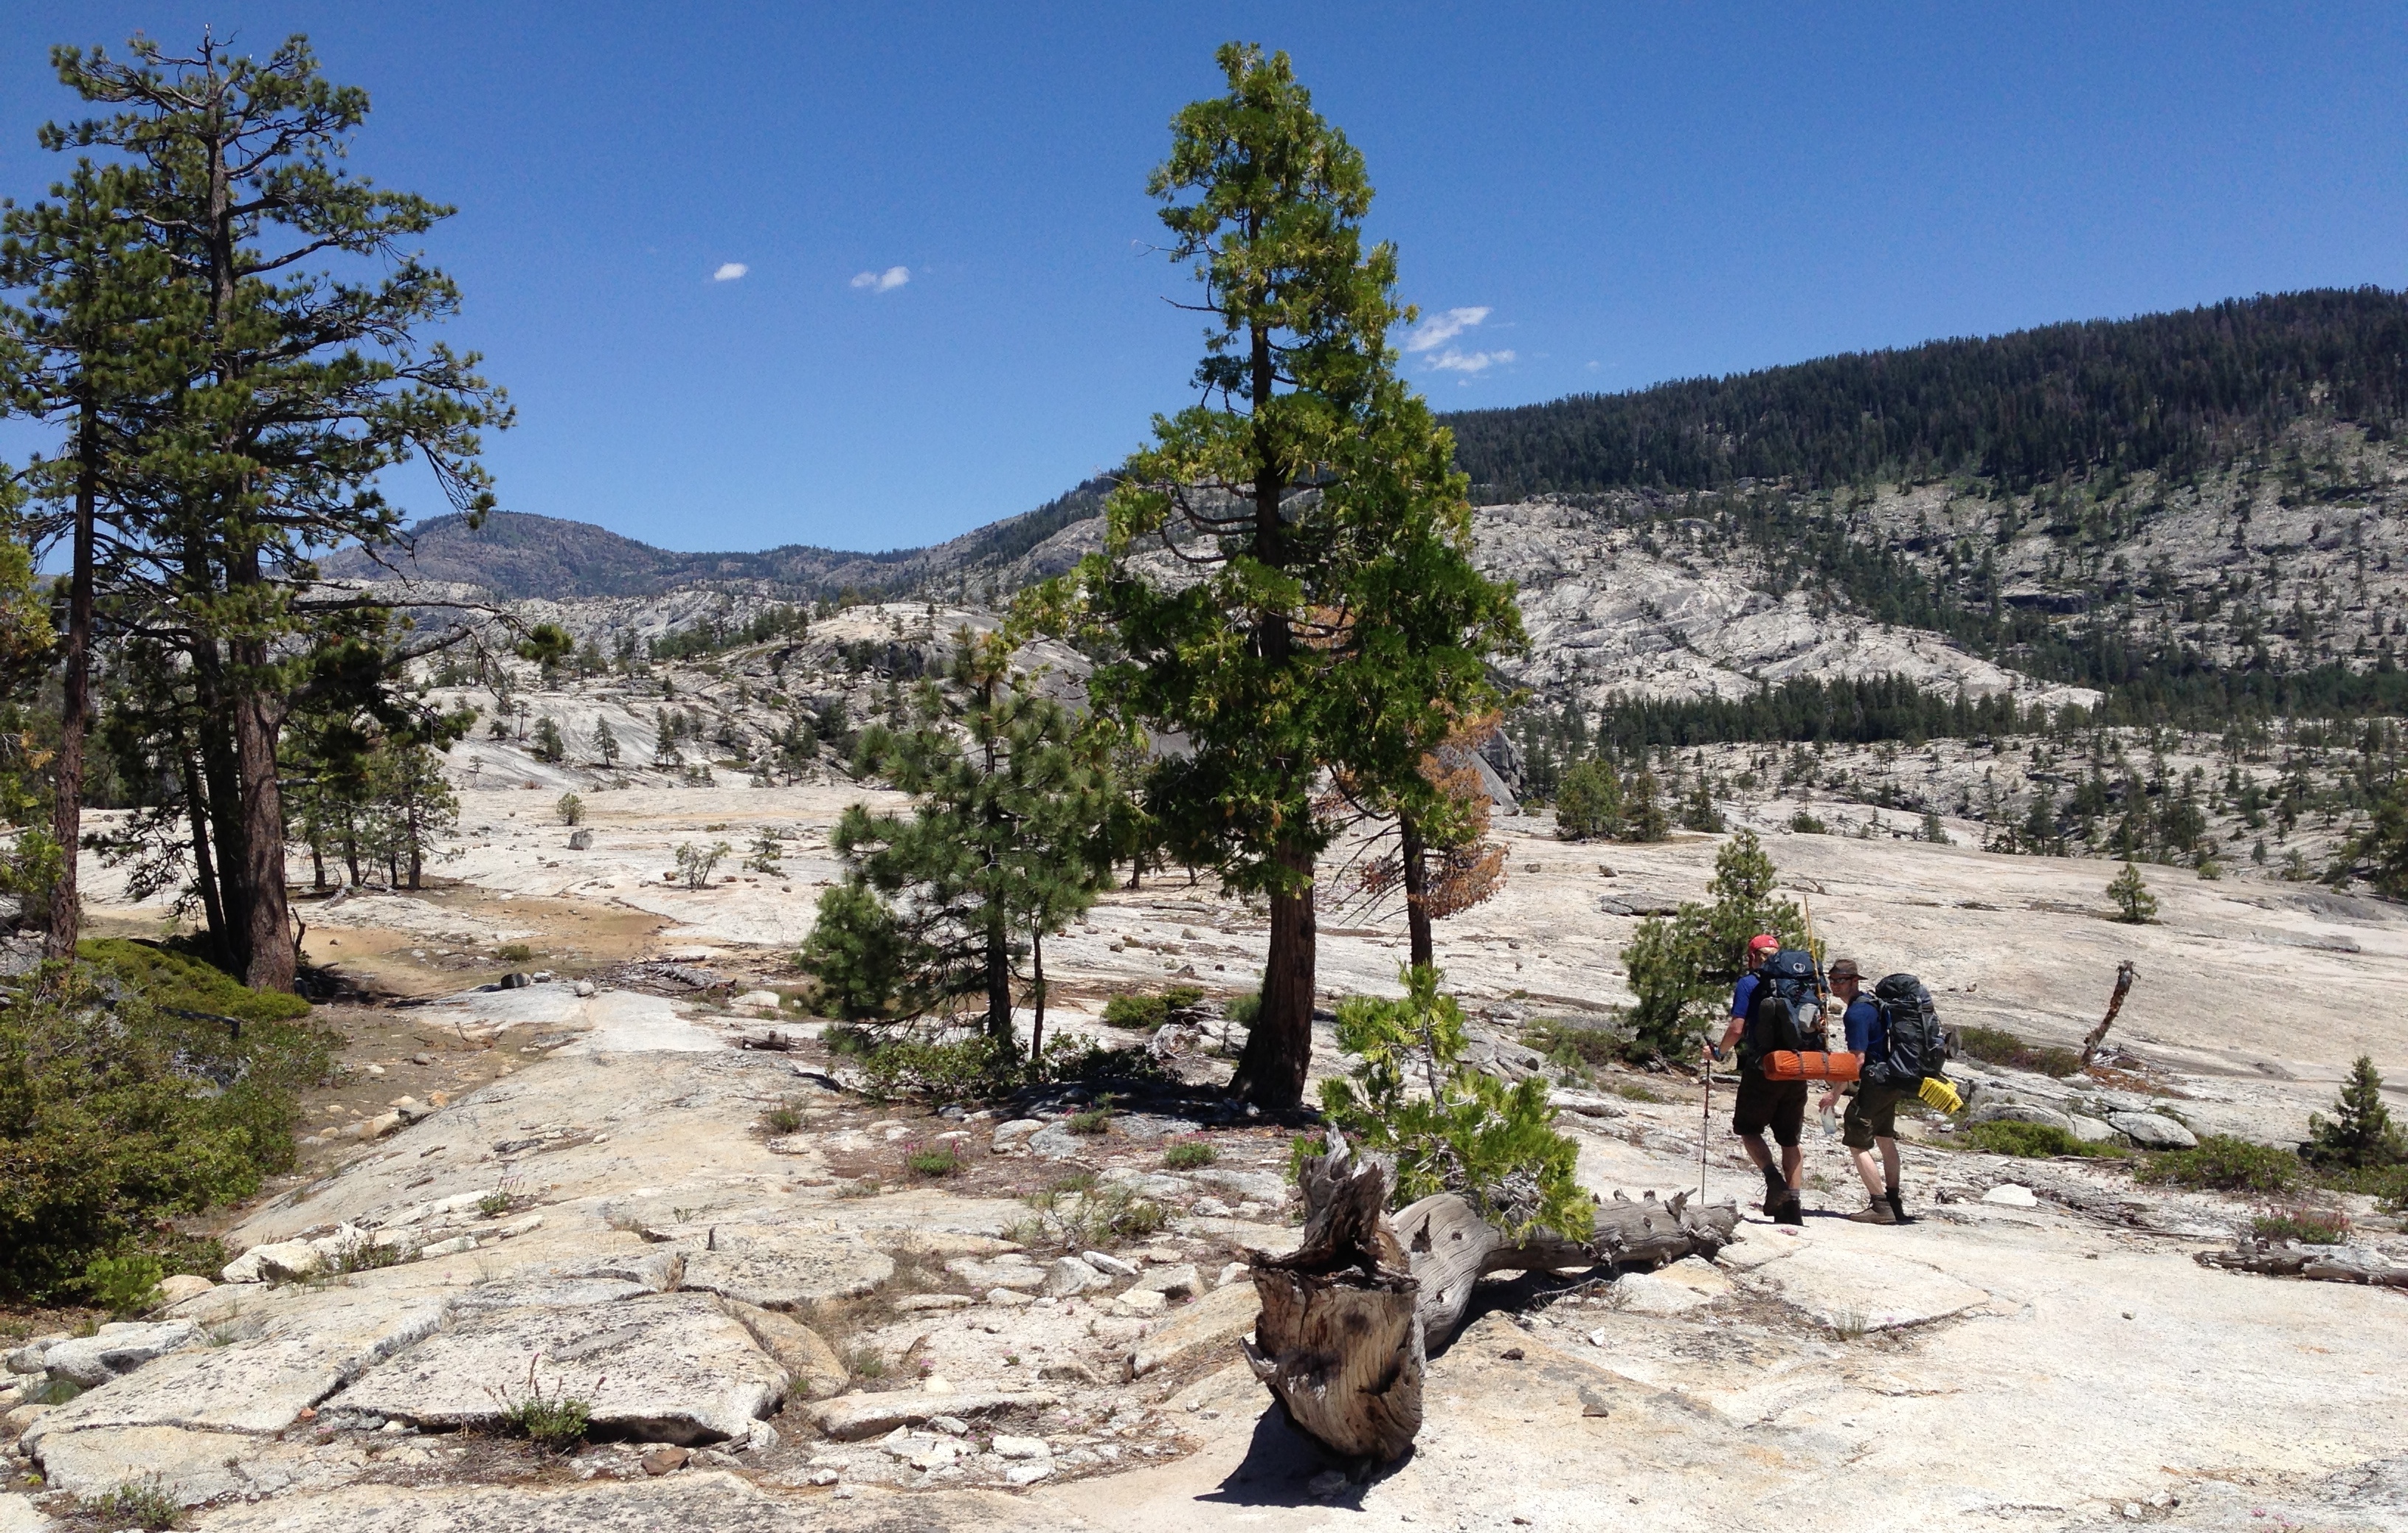
Heading east around the cliffs of Granite Dome’s north face. This path was more boulder scrambling that the previous day. Progress was slow. After cresting several ridges, we finally got a view of where we had to go to get around the cliffs. It was still a ways off, and with clouds starting to roll in, we decided to head back to the cars.

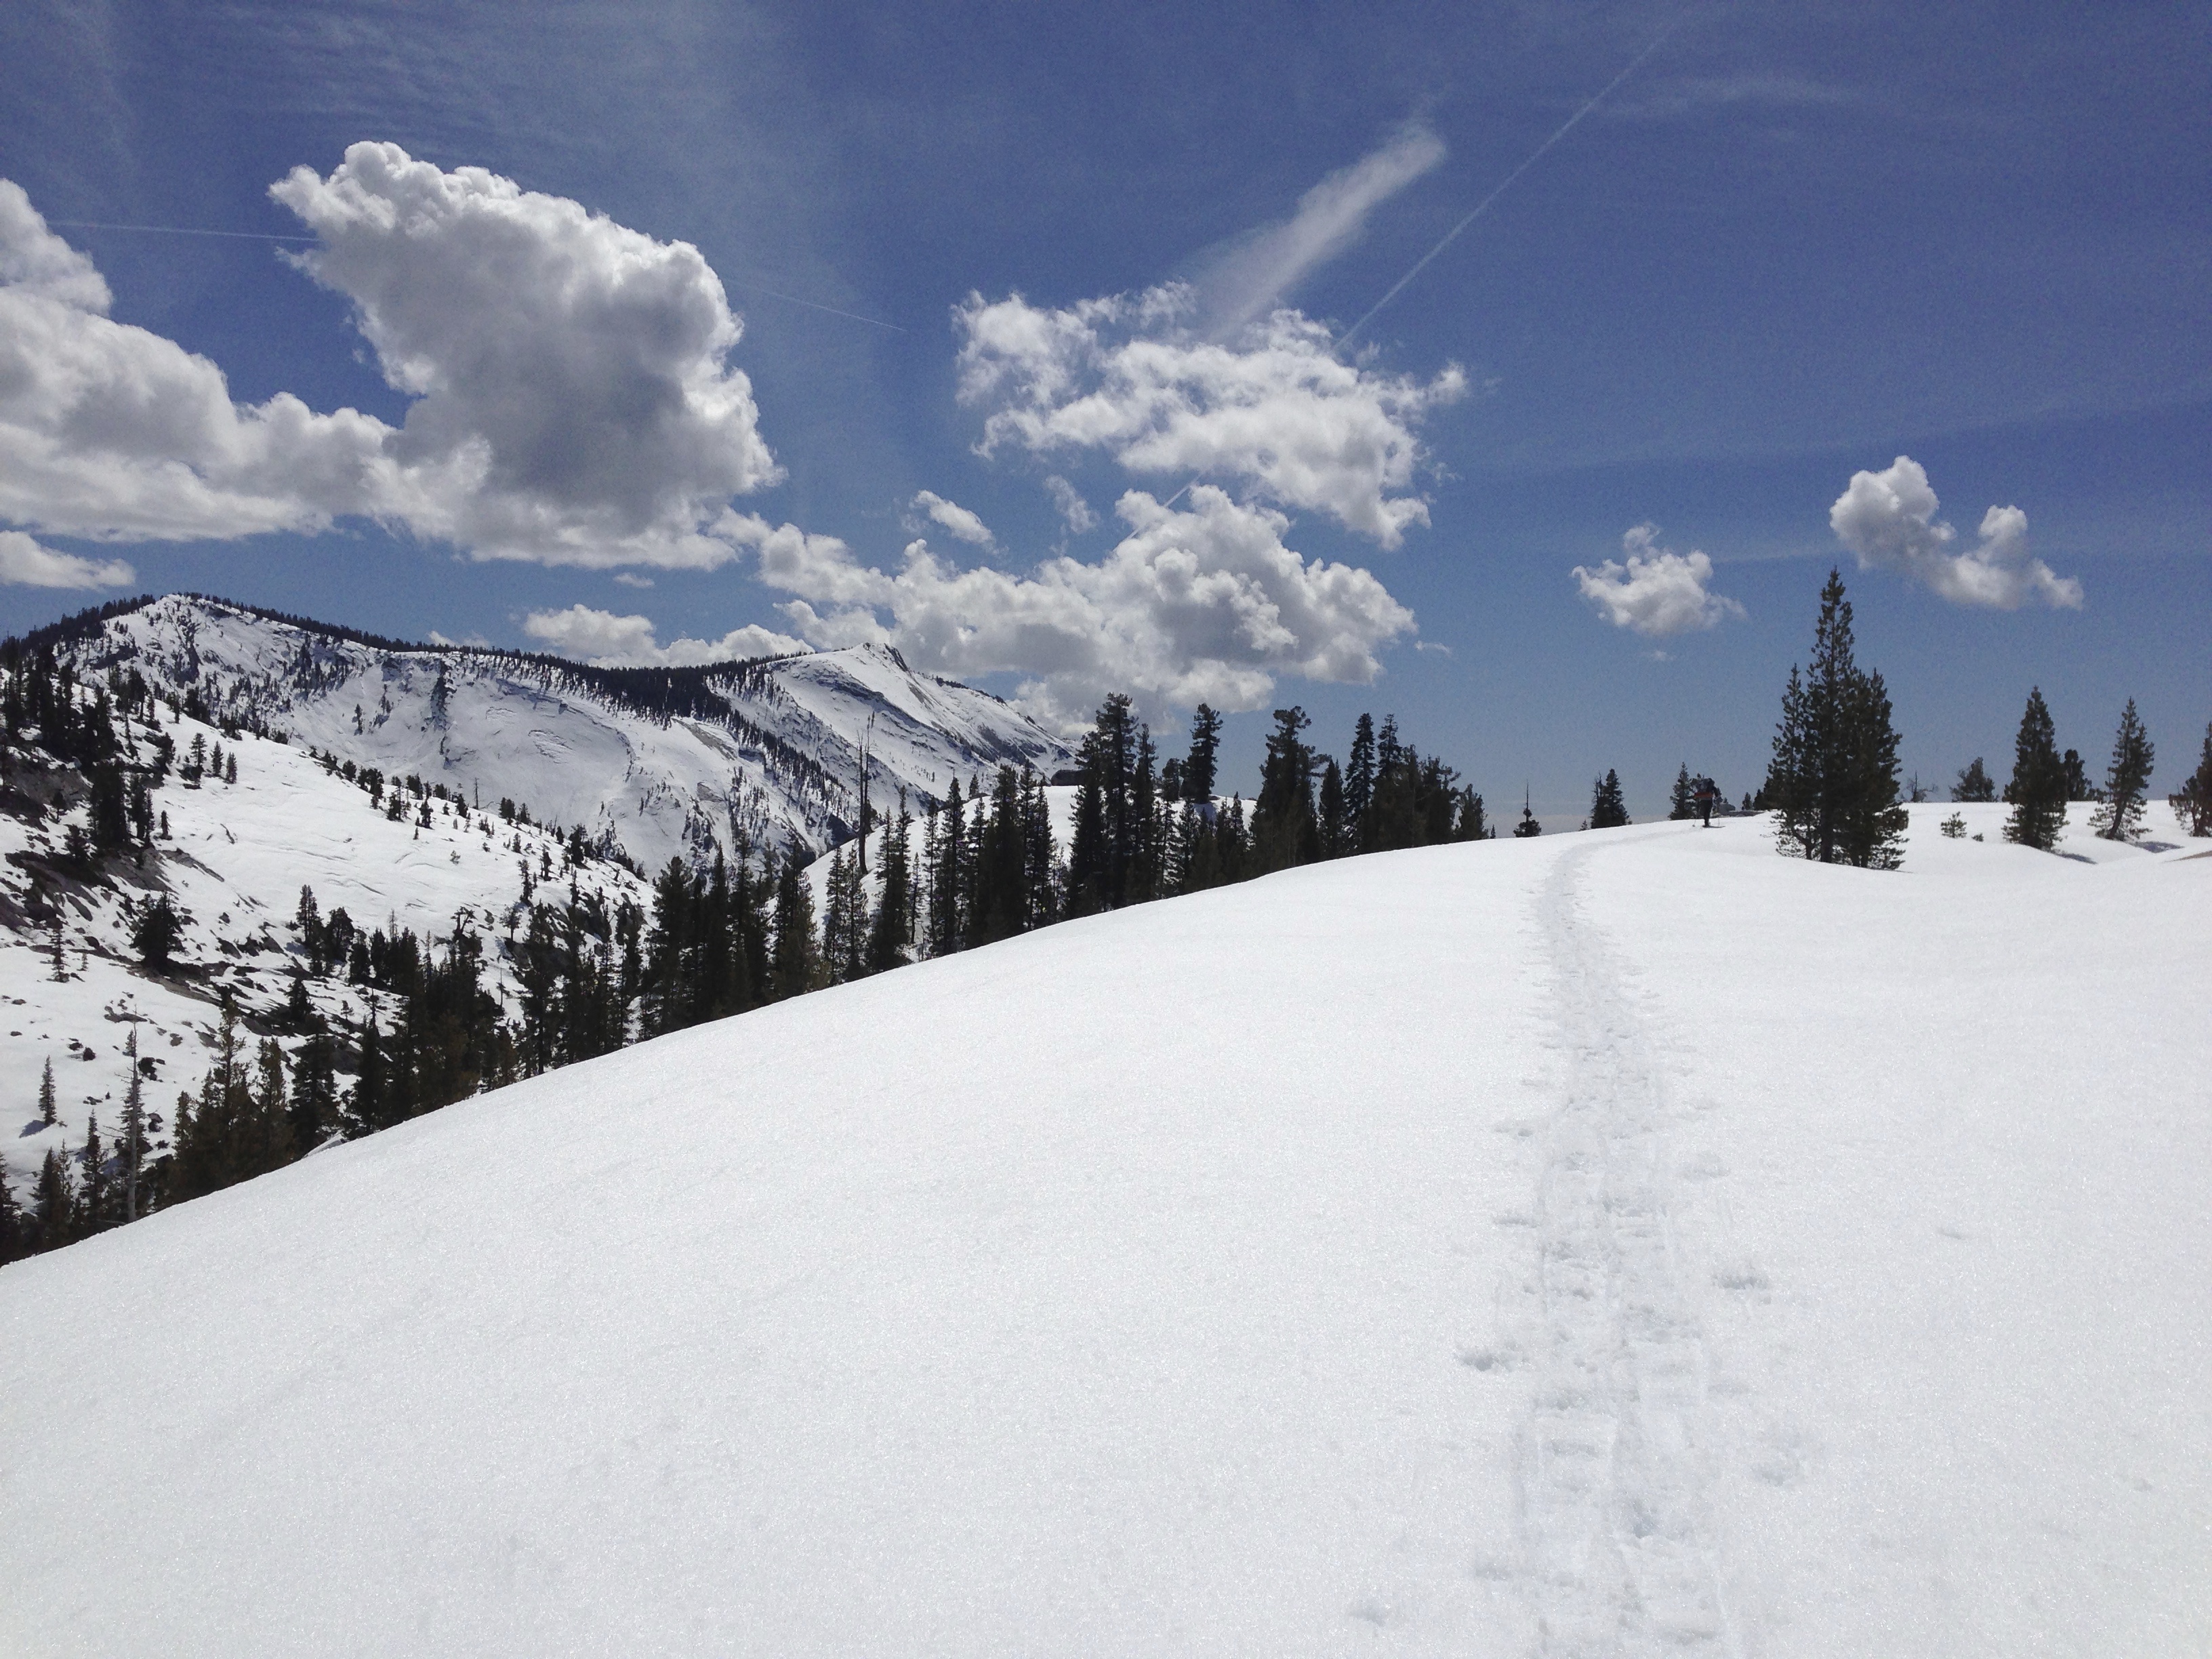
View from the approach to Granite Dome
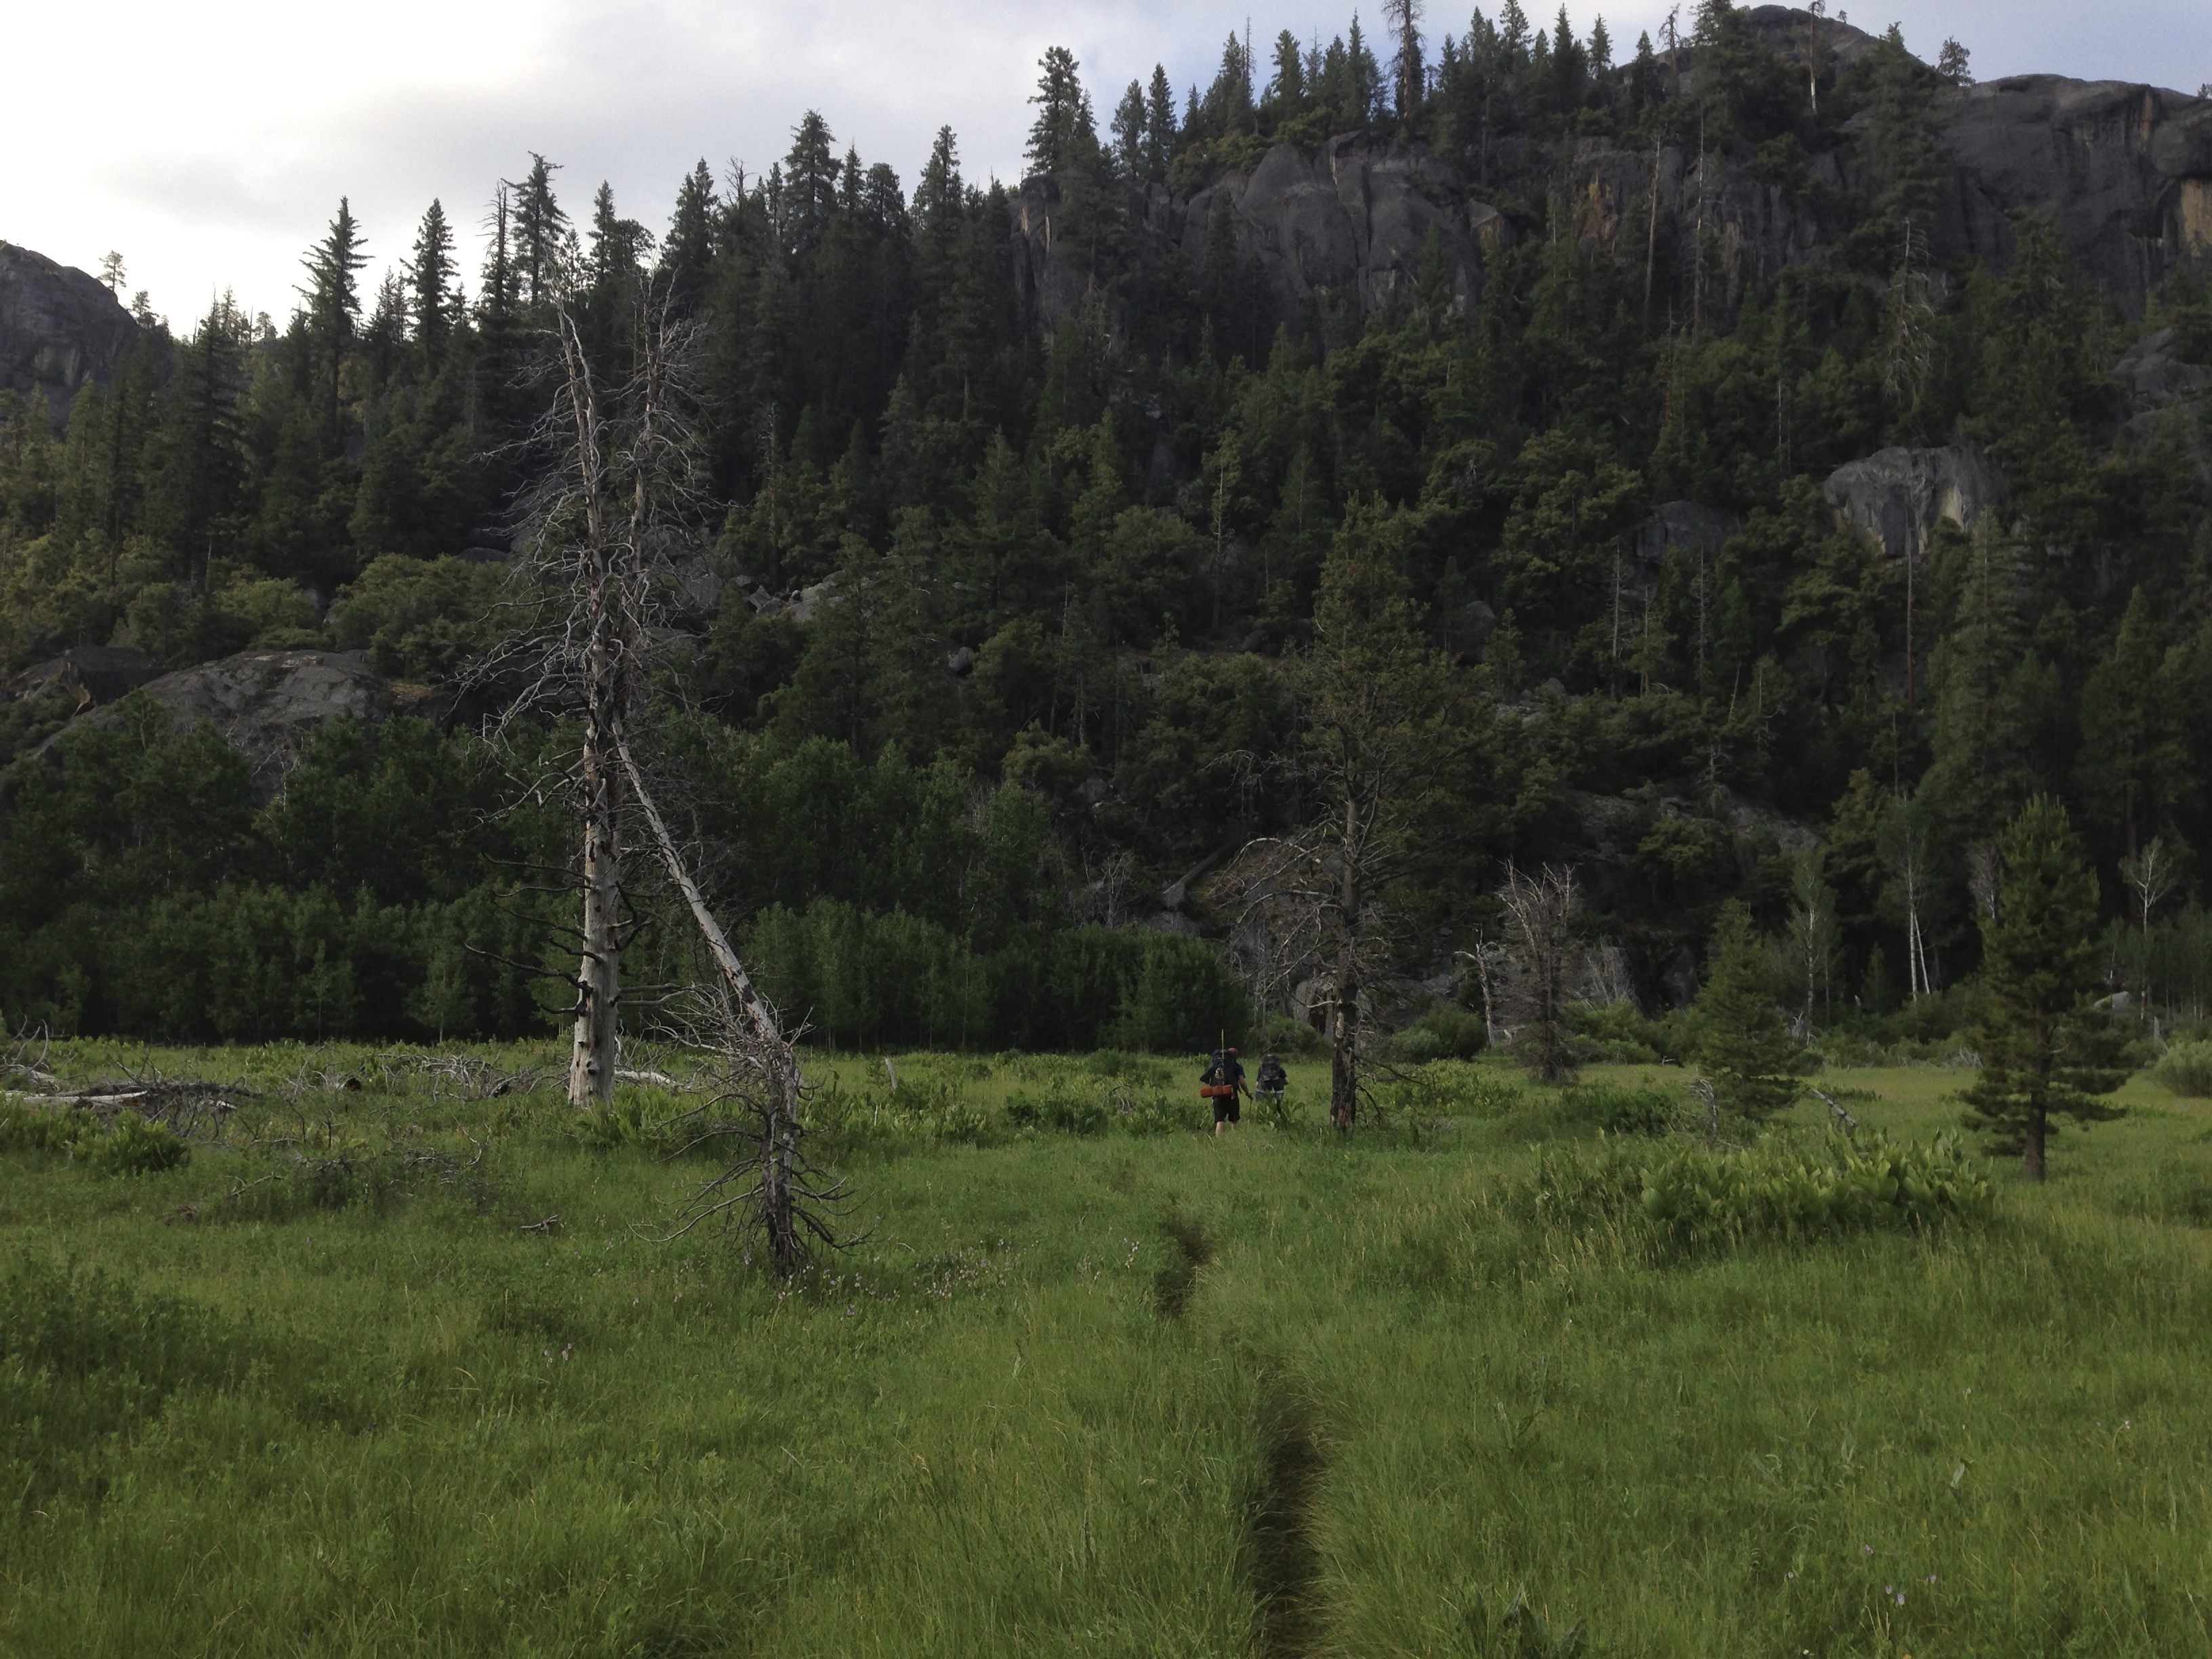
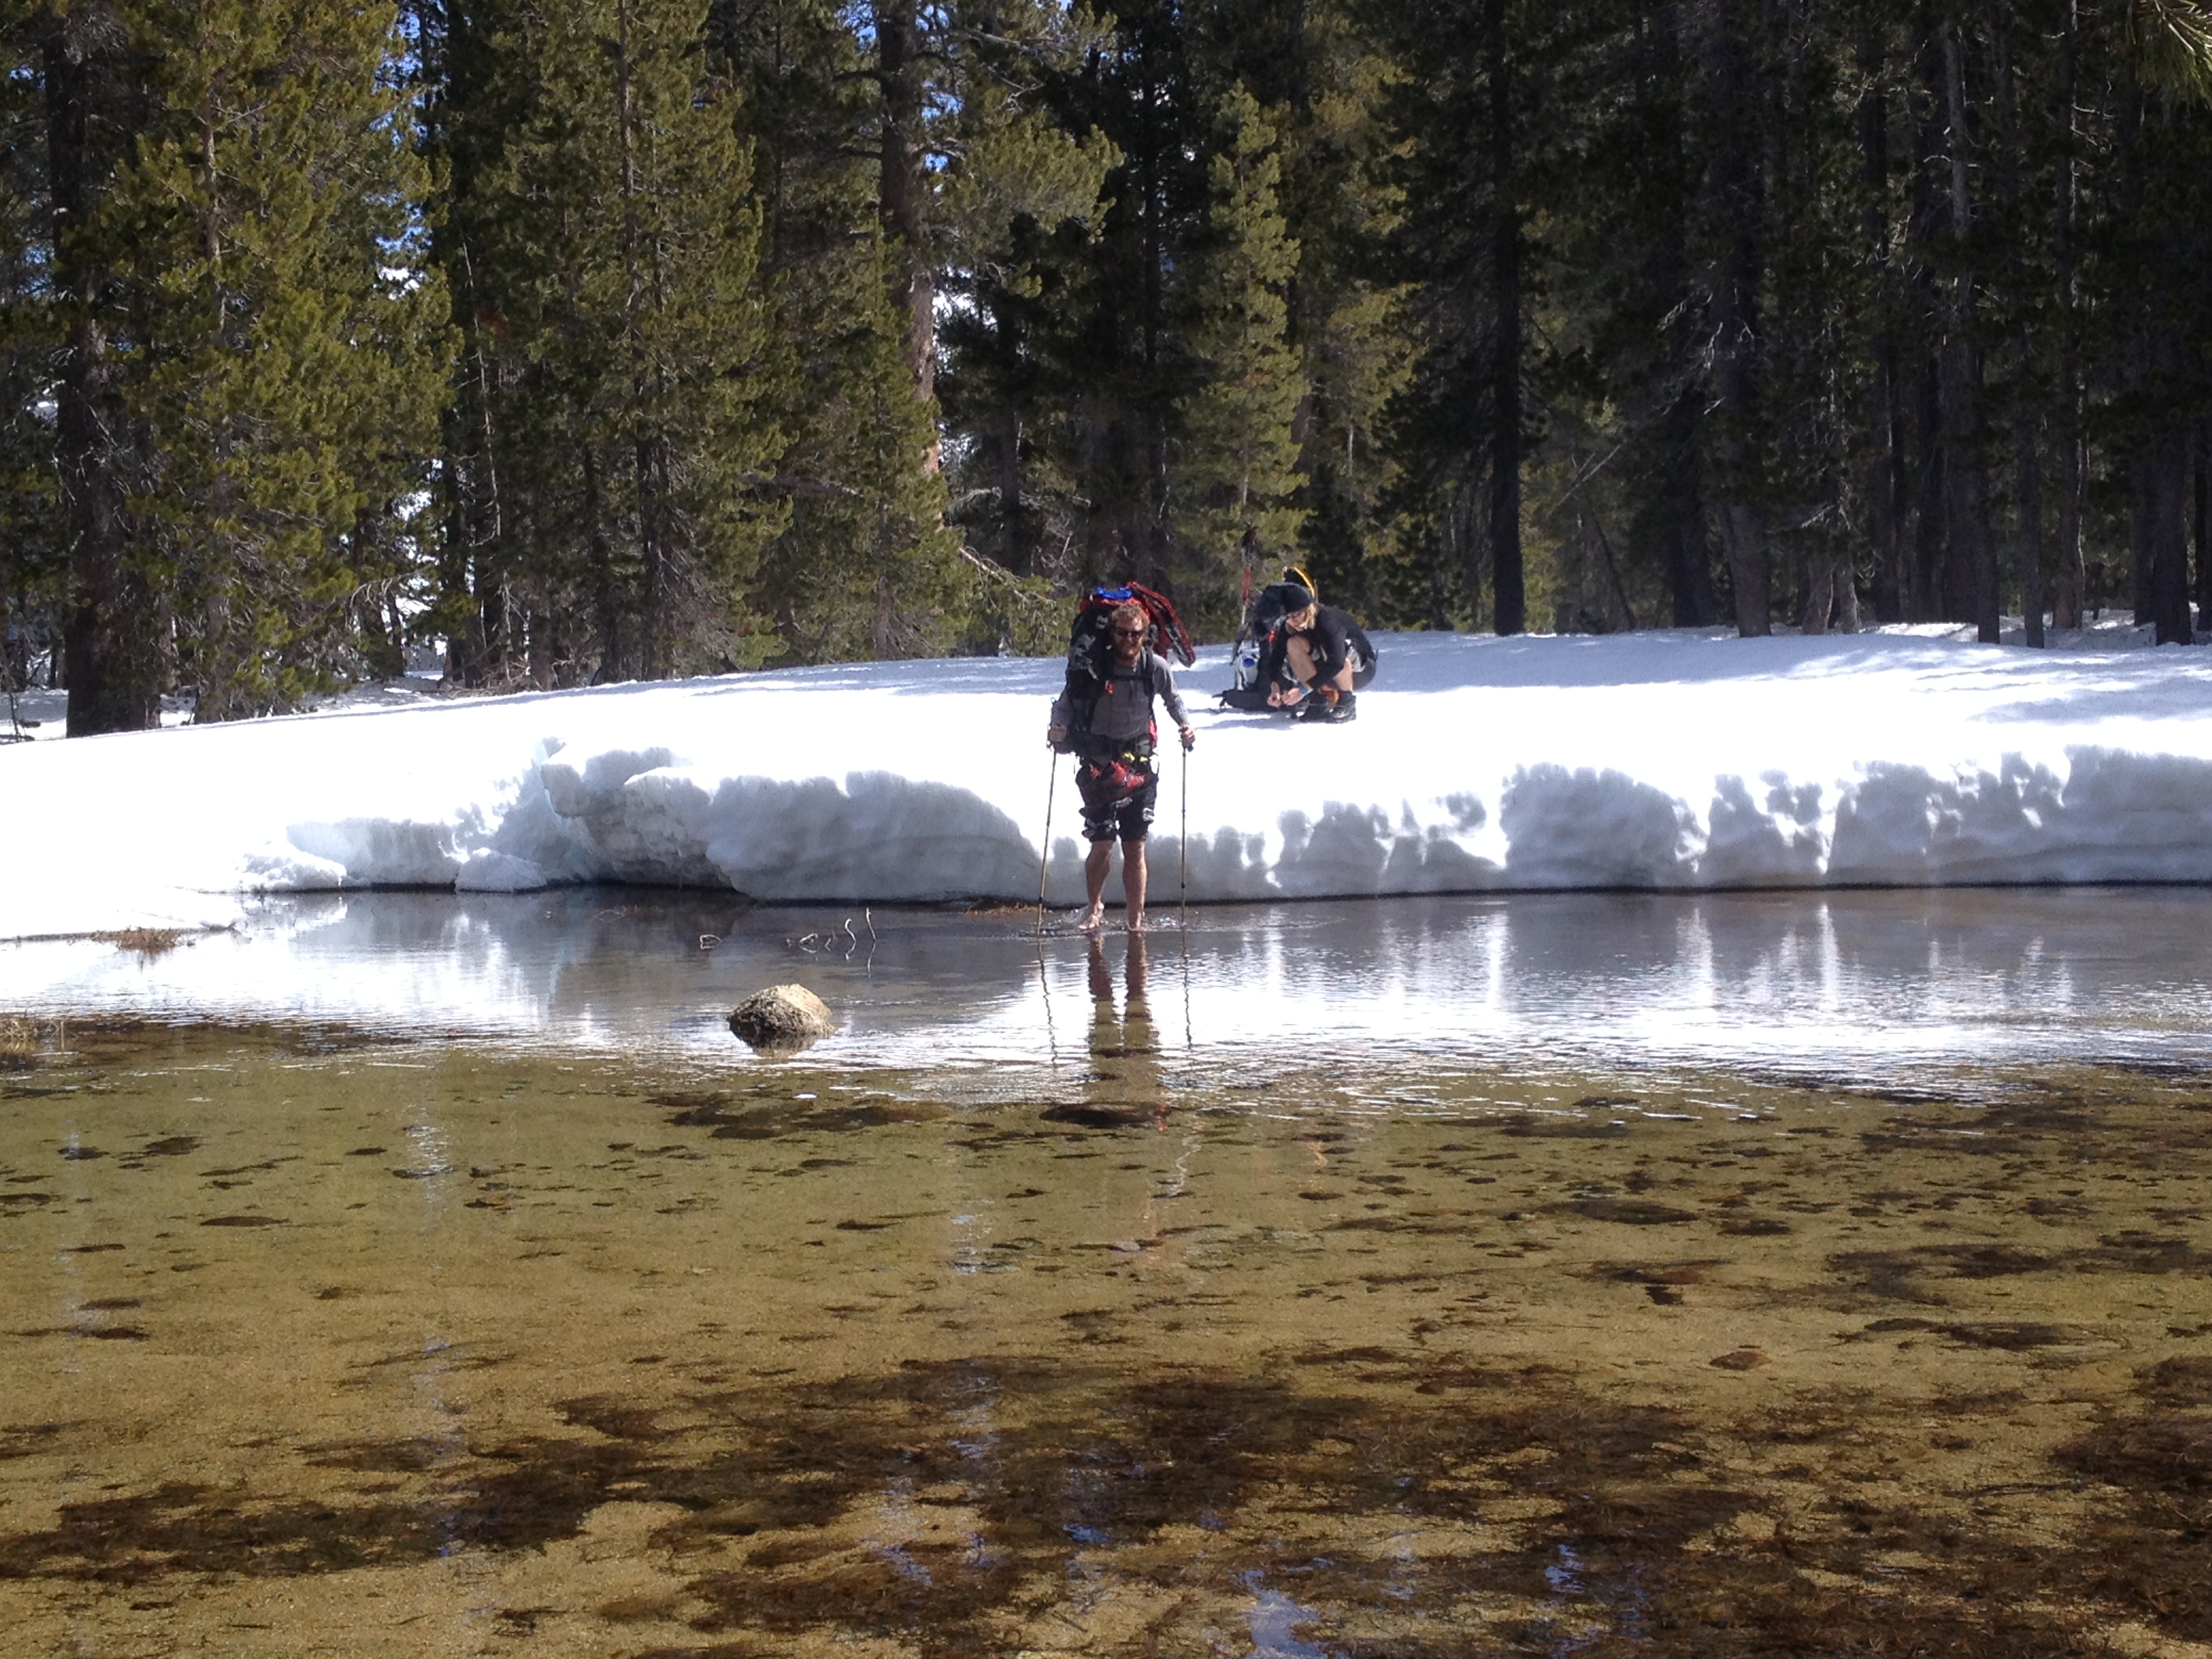
The return trip was fairly uneventful other than passing a pair of hikers heading into the wilderness. We were back at the car by 4:30pm.
Back in Oakland (October 22, 2012)
I took a look at the weather report for Emigrant. It had snowed several inches over night with 80mph winds and more snow in line for today and Sonora Pass was closed. I think it was a good thing we turned around when we did!
See more photos HERE!


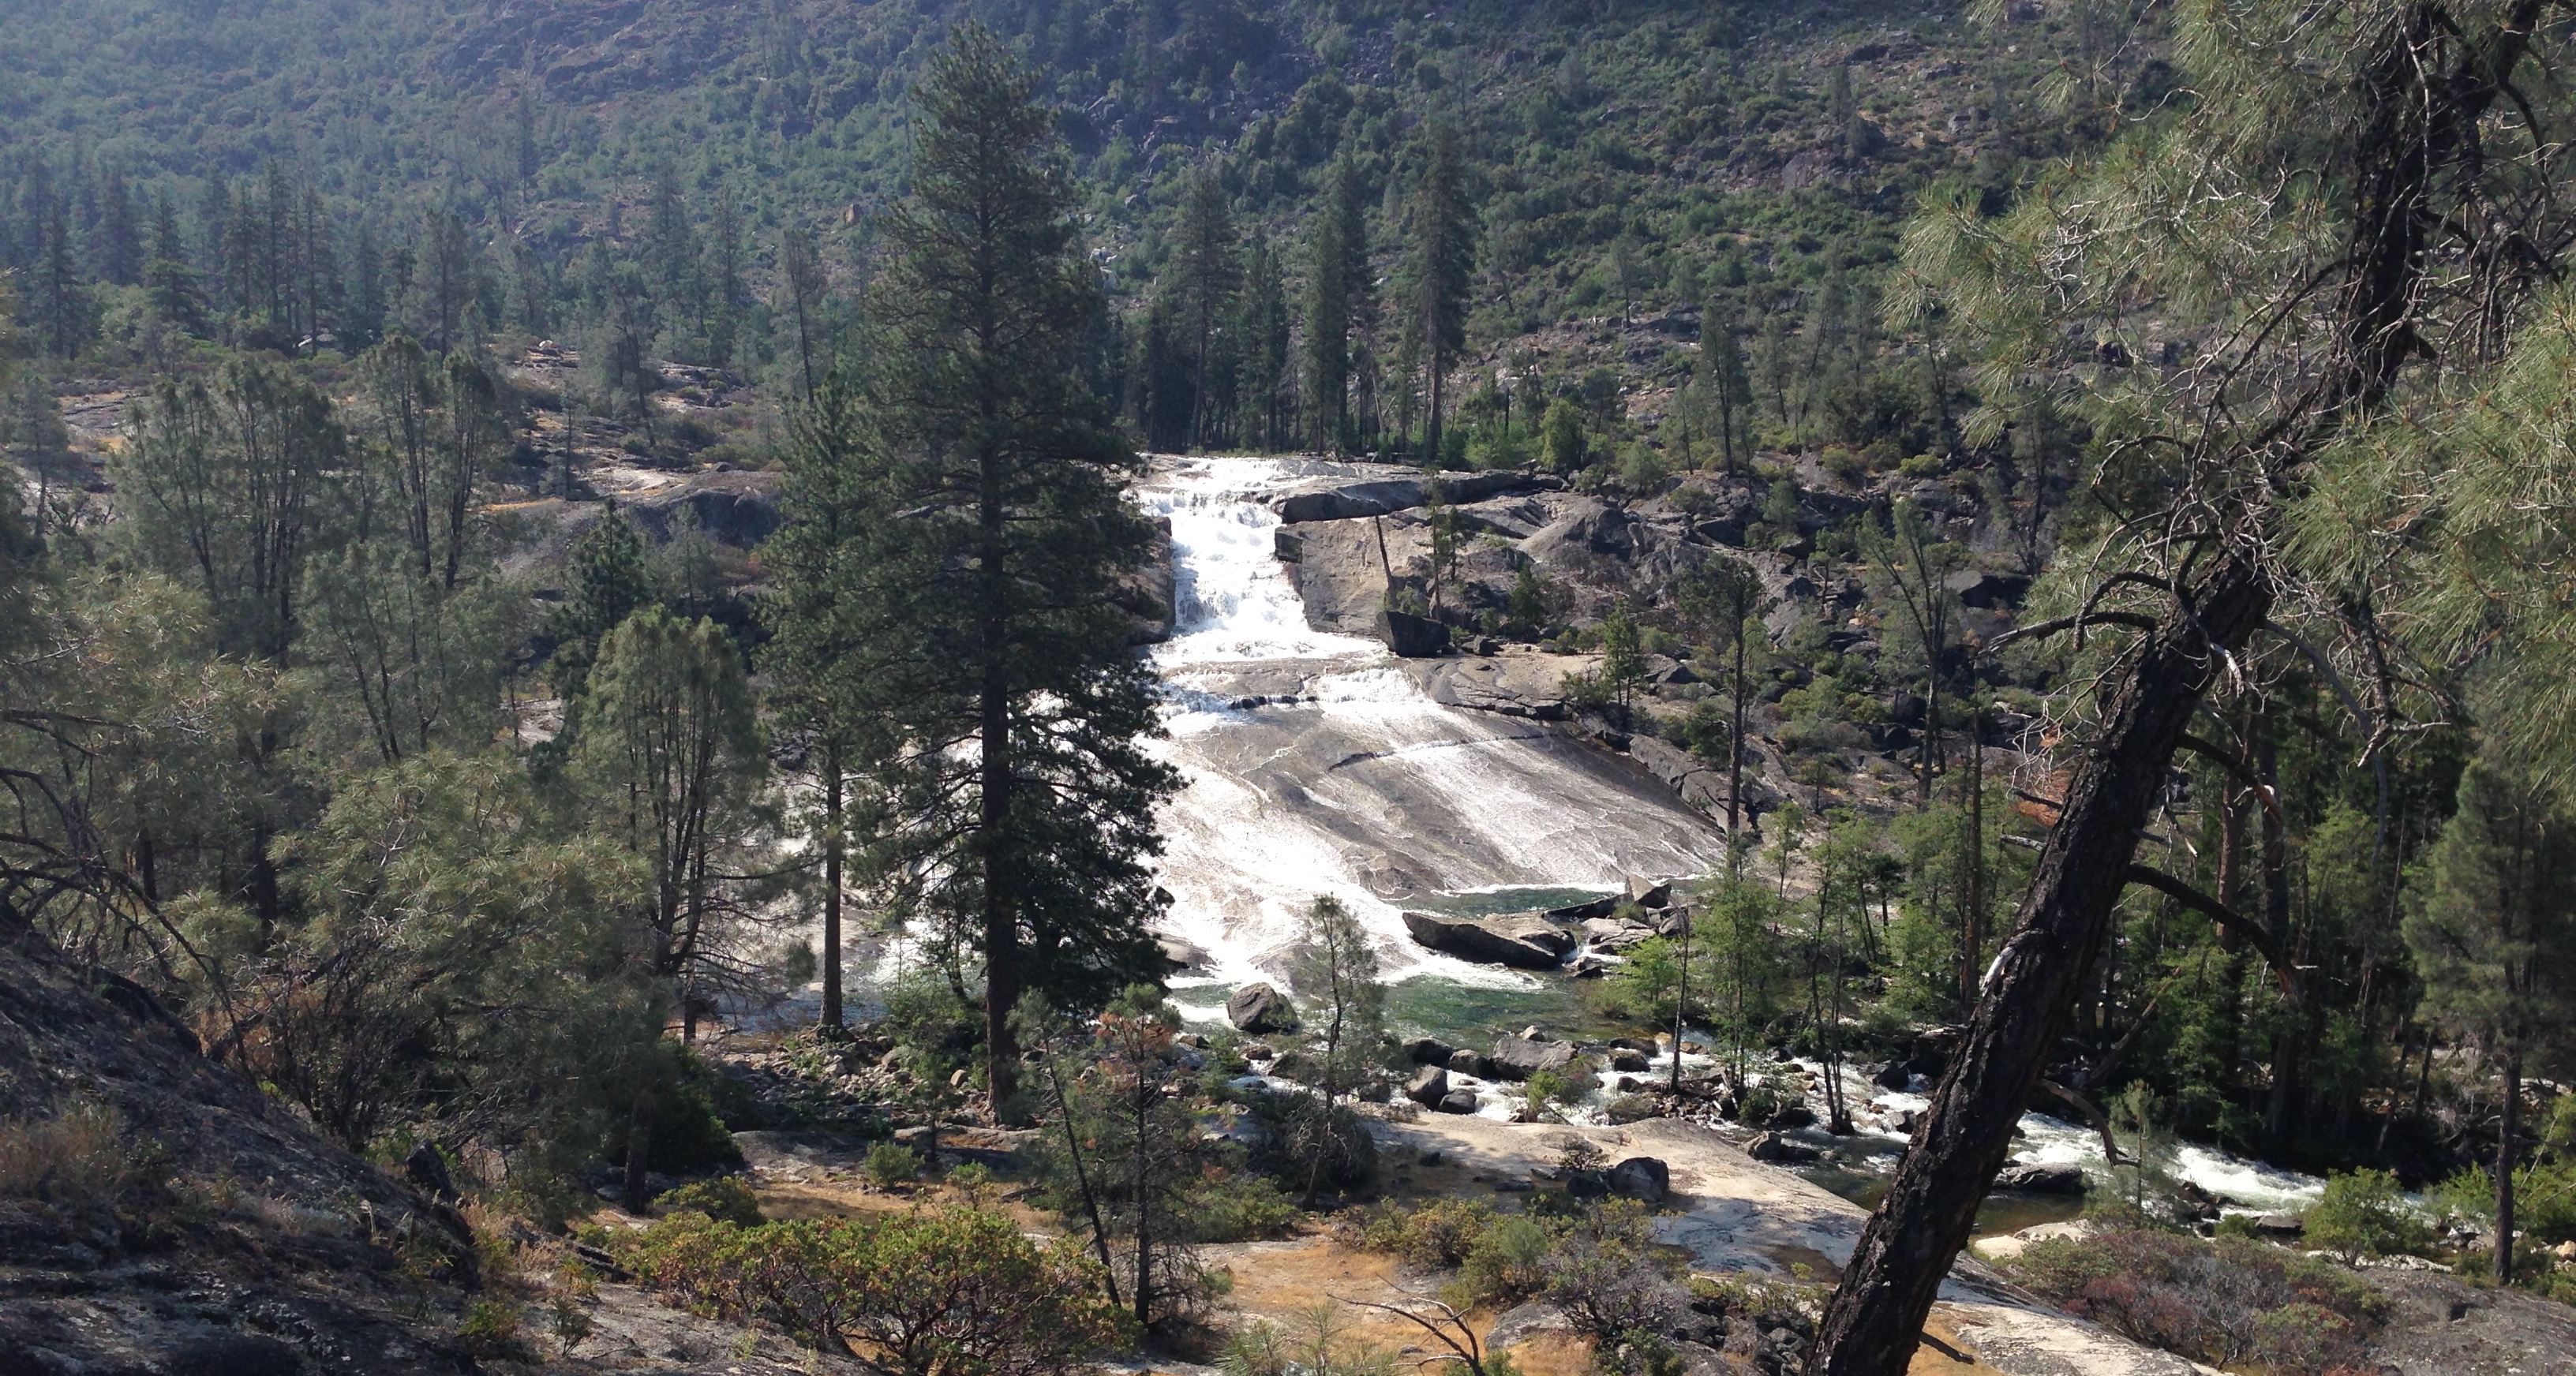
 Flurries were already falling as we packed up our gear and started up the trail. When we reached the bottom of Nevada Falls it was snowing steadily. By the time we crossed the top of the falls, the snow was falling fast and the wind was begining to pick up. As we continued up the ridge above the falls, we passed a group of day hikers heading back to the valley. It was clear the weather had caught them by surprise.

 snowfall. After a few miles, the trail begain to climb towards Merced Pass Lake. As we climbed, the snow became deeper until we were setting new tracks into knee deep powder.
 We started up the trail putting first tracks in the deep powdery snow as we made our way up to Lower Ottoway Lake. The day warmed up quickly, and the snow became soft and heavy under our feet. Along the way we got a view back towards the valley. The south face of Half Dome looked like just another distant rolling hill of the High Sierra.
 It was another cold night. The sky was cloudy as we packed up camp and made our way back to the car. The hike back was down hill and fast. We quickly decended out of the snow, and were back on snow free trail as we made our way past Mt Starr King towards Nevada Falls. All the snow that had fallen on our first day out had melted in the last couple days.